 |
 |
 |
|
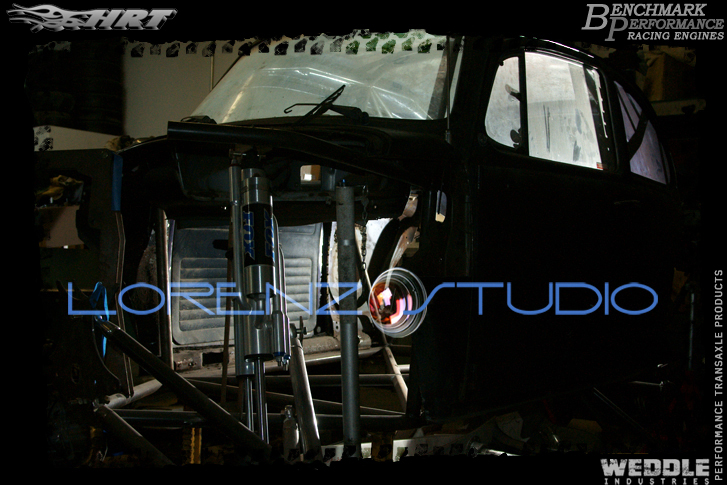
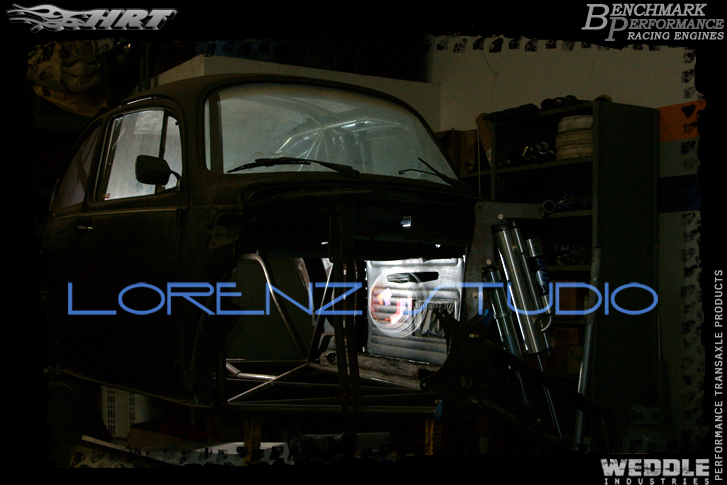
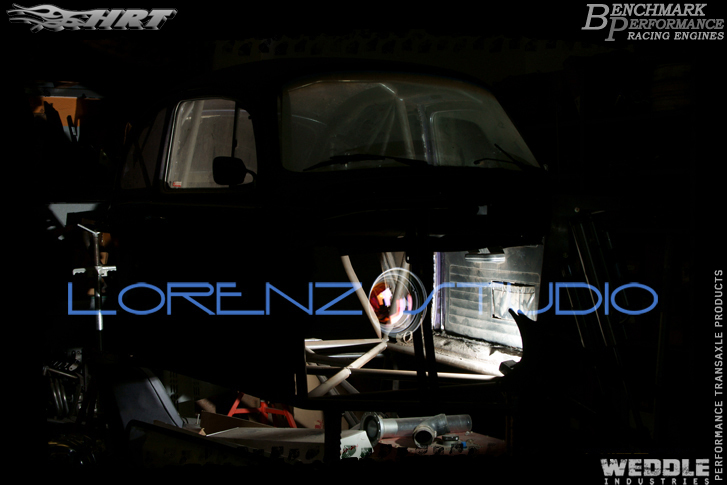
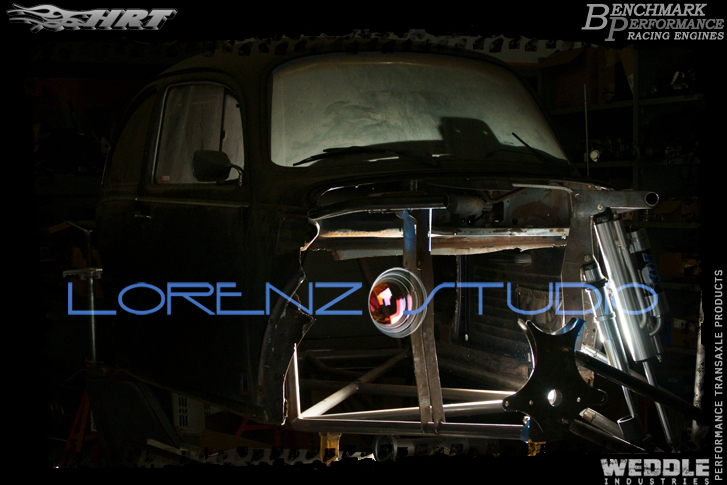
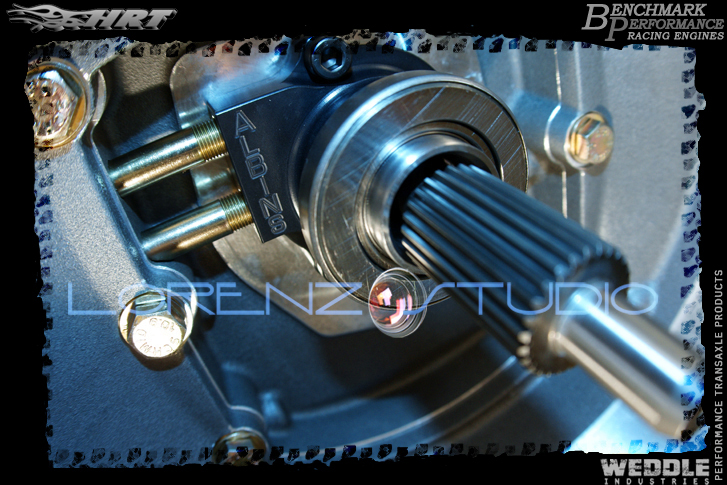
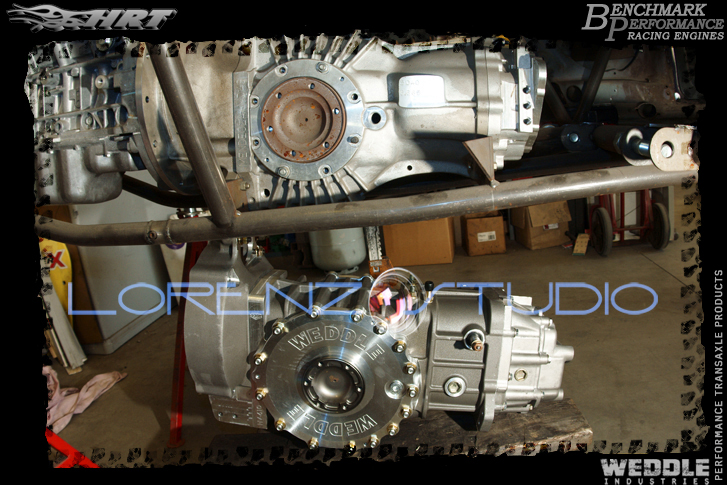
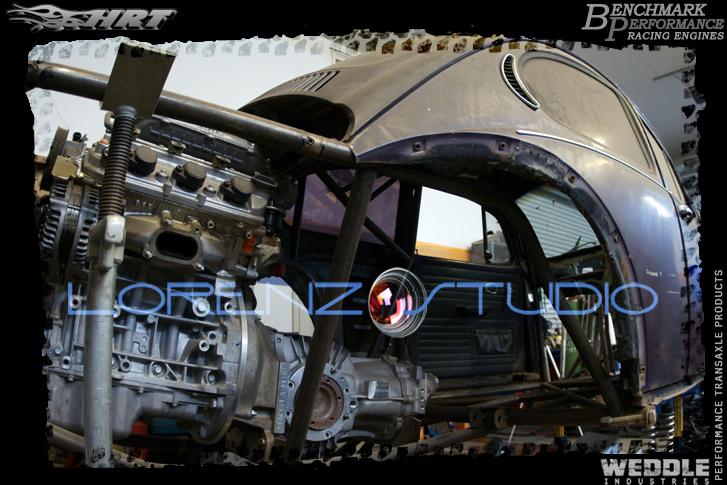
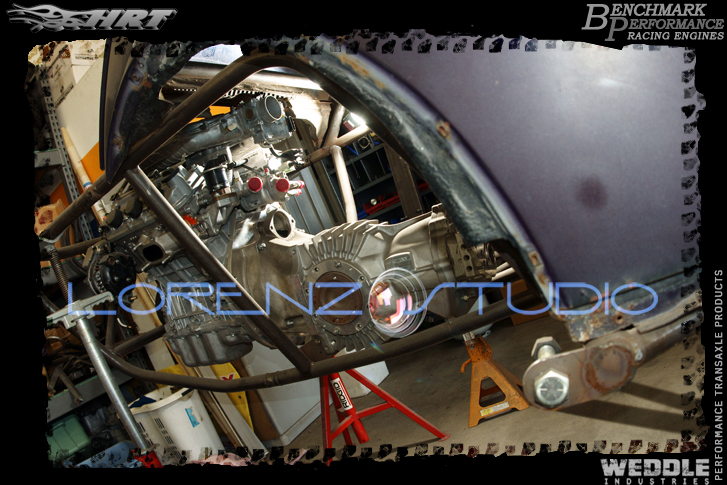
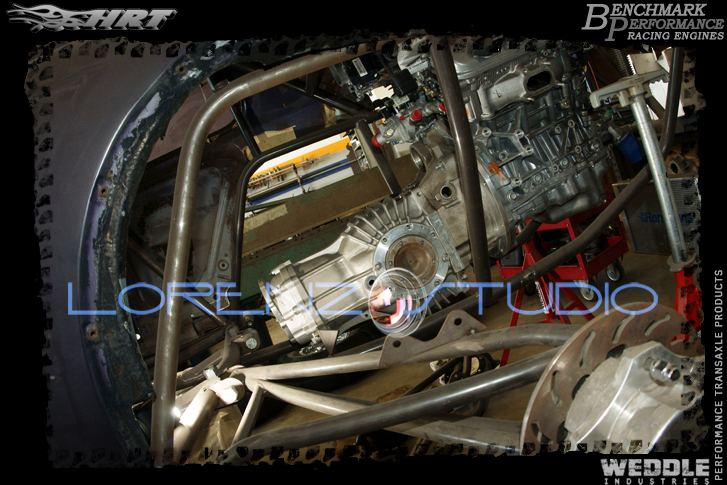
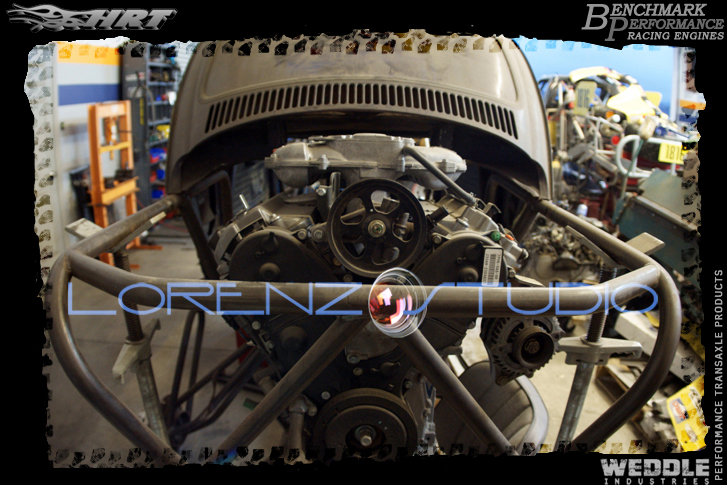
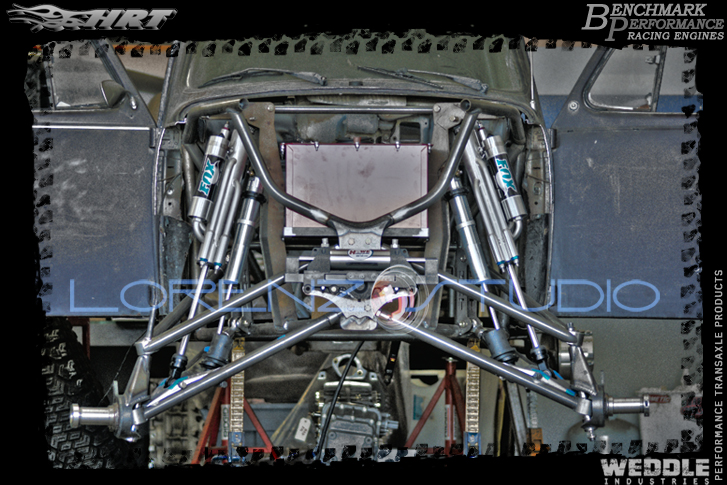
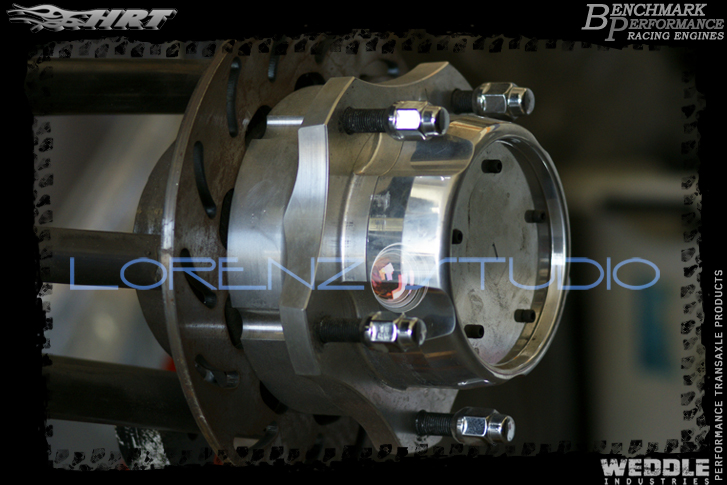
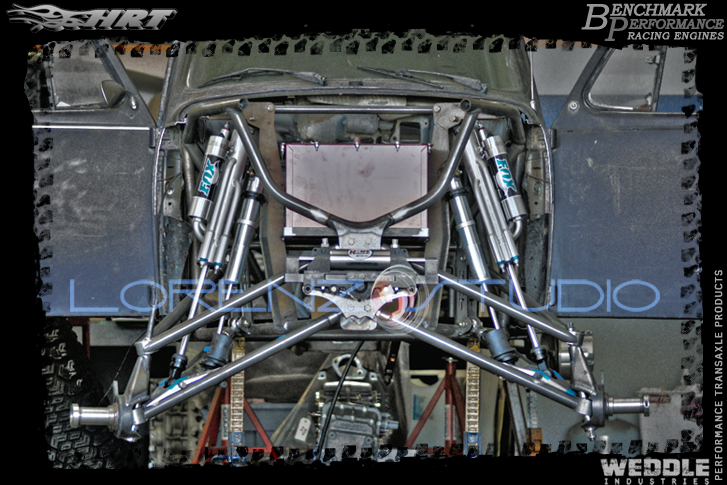
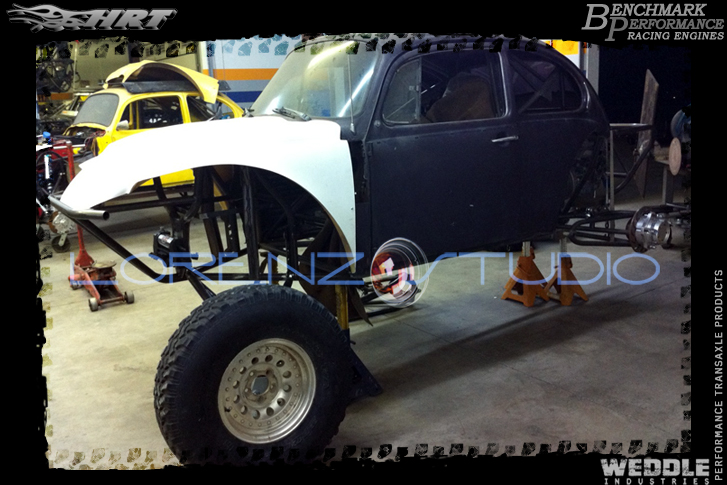
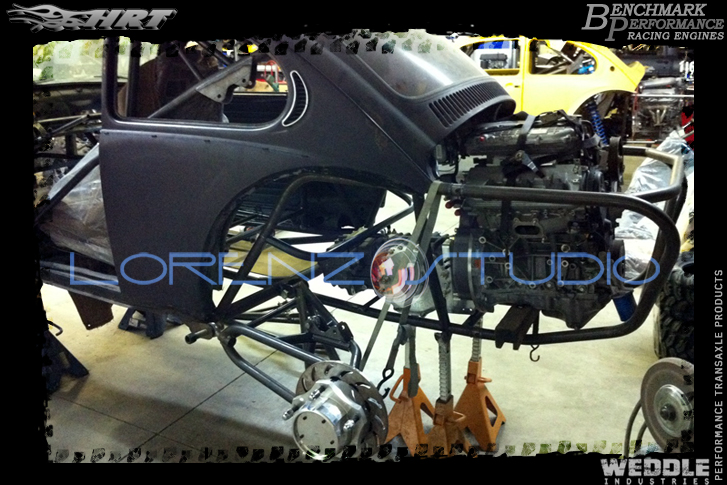
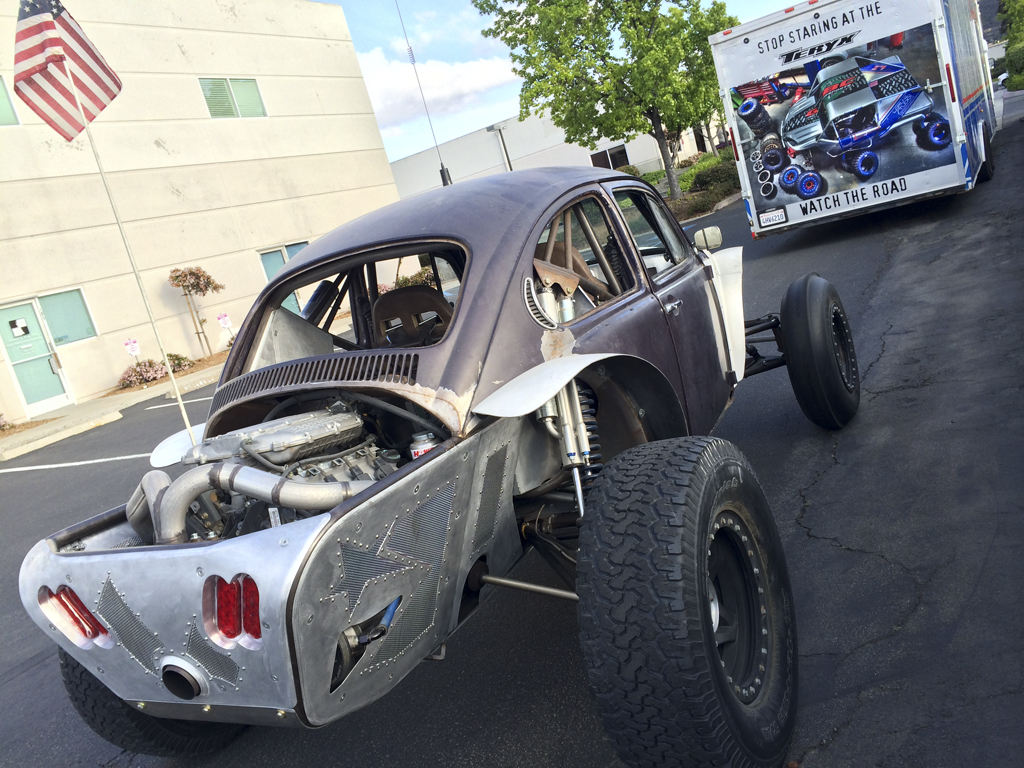
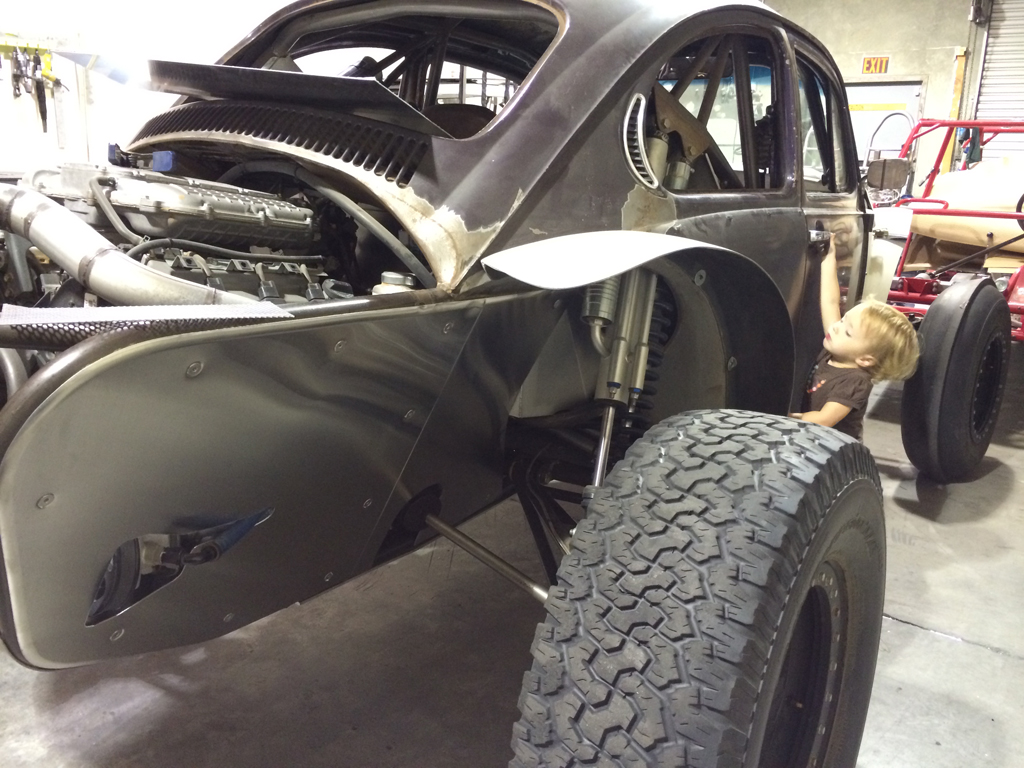
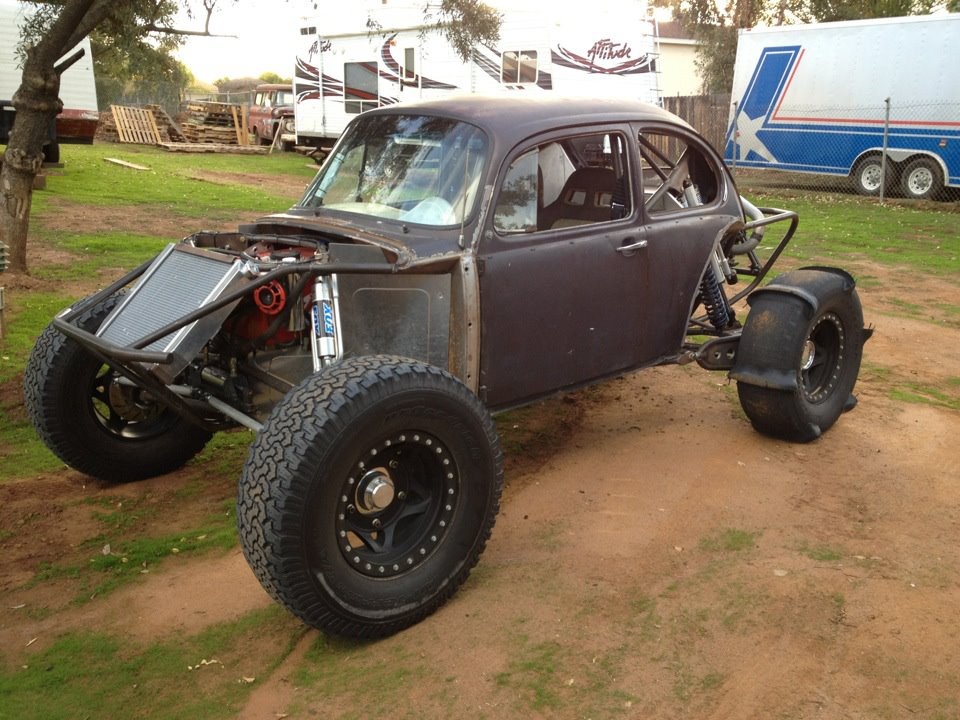
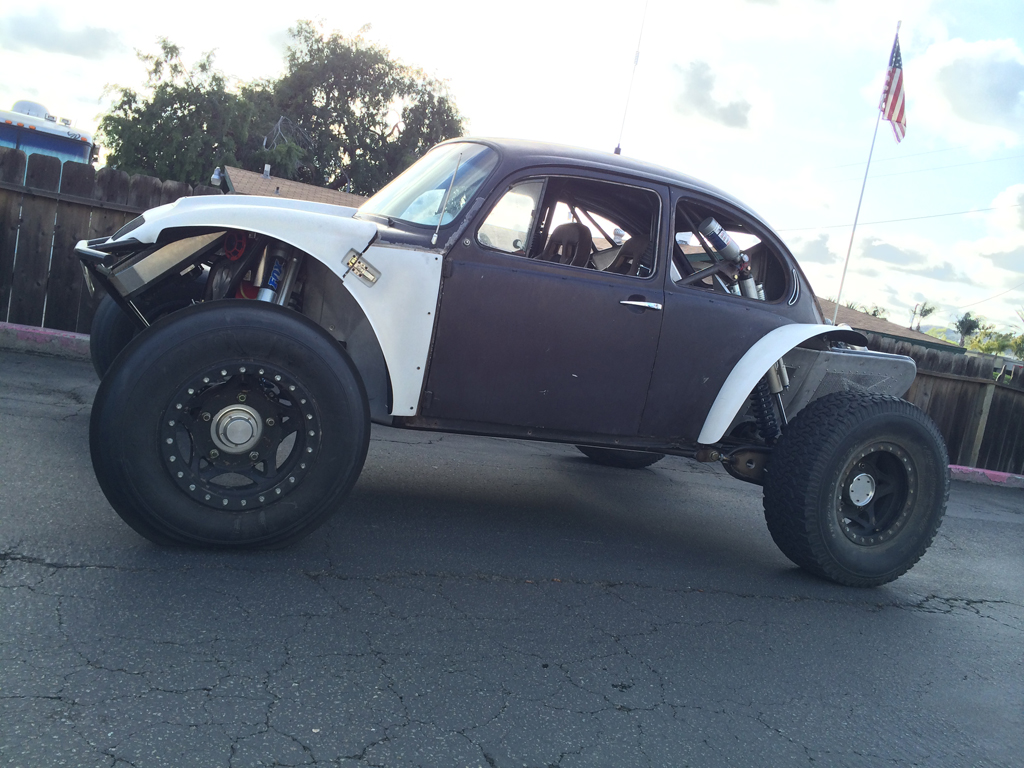
 A chunk of new, hot off the press’, Weddle HV-1 transaxle out back, a few teaspoons of Benchmark Performance tuned Honda j35A9 V6 Ponies, bits of Howe, a splash of Walker Evans beadlocks, and a whole bunch of elbow grease from the boys at HRT, (Hot Rod Todd for those in the know) and the Fetching Mrs Lorenz has a new grocery getter.
More specs and pics as the build progress’
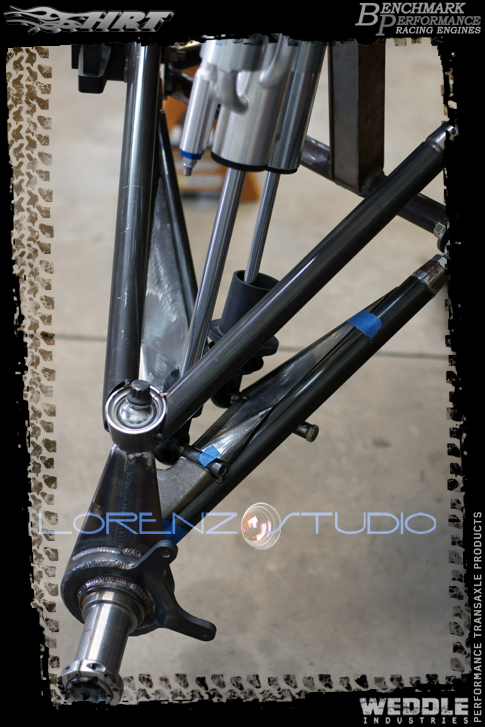
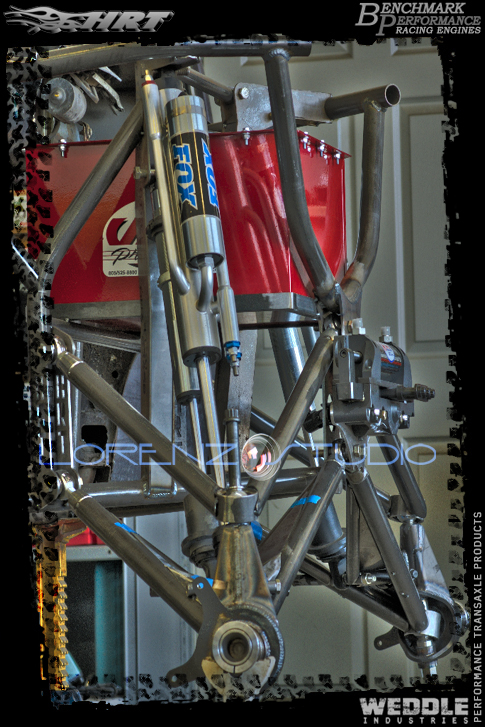
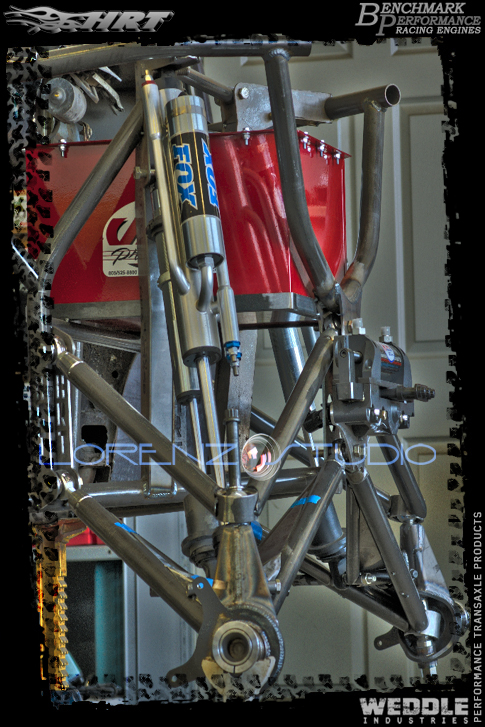
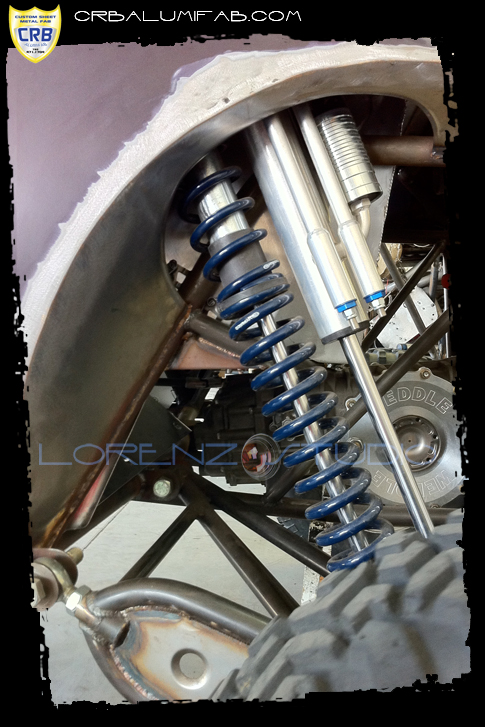
2″ spindles, upper and lower horizontally mounted uni-balls.
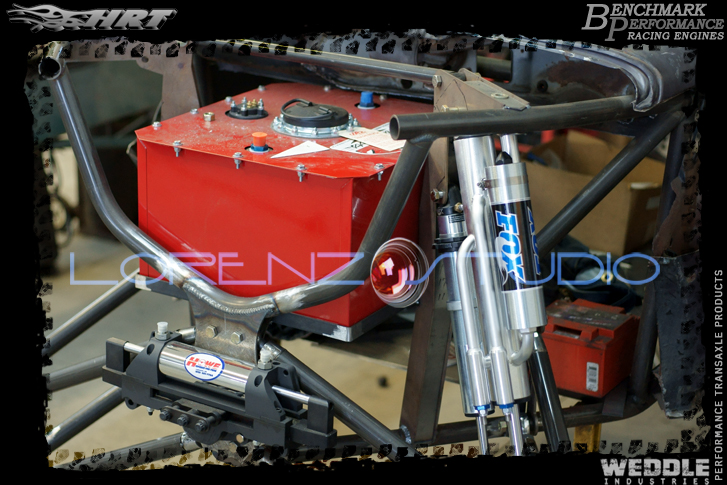
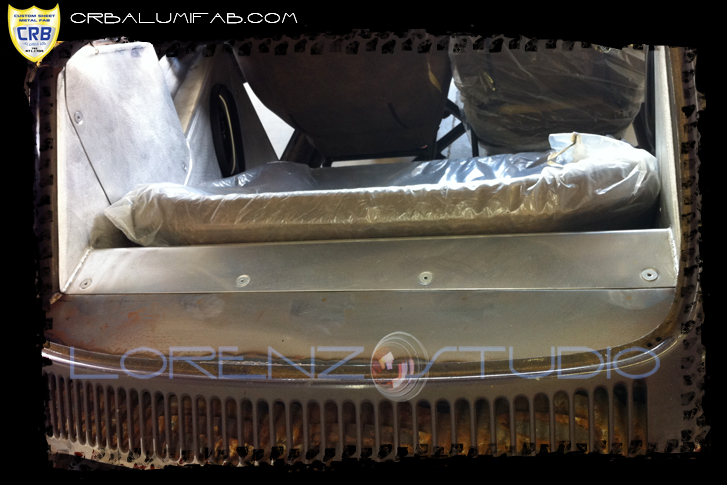
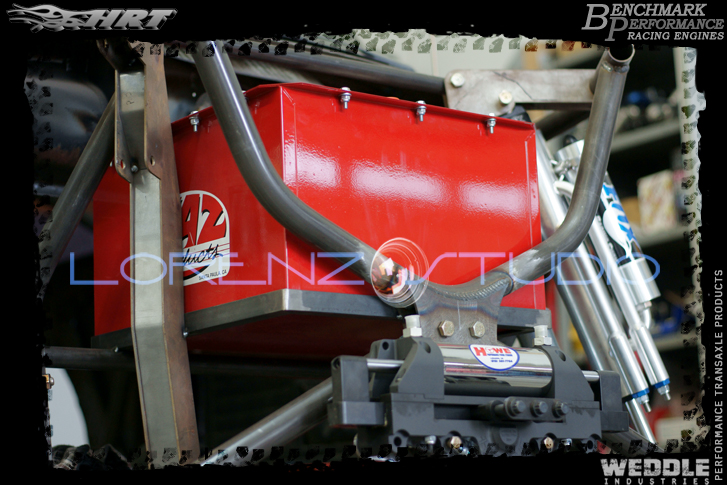
12 gallon cell between the uprights. I was hoping for a little more capacity, but we opted for a small bench seat in the back. That pushed the fuel cell to the front. It’ll be a little safer up there with a firewall between the cell and the passengers… Trade offs are a bumber. I think army green jerry cans on the roof or along the rear sub frame are in order. I’m not liking the idea of fuel above me, but I think mounting them on the roof rack would look the best?
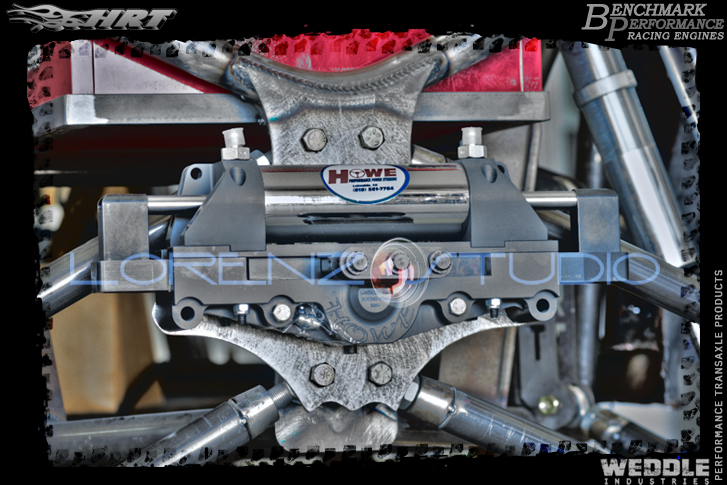
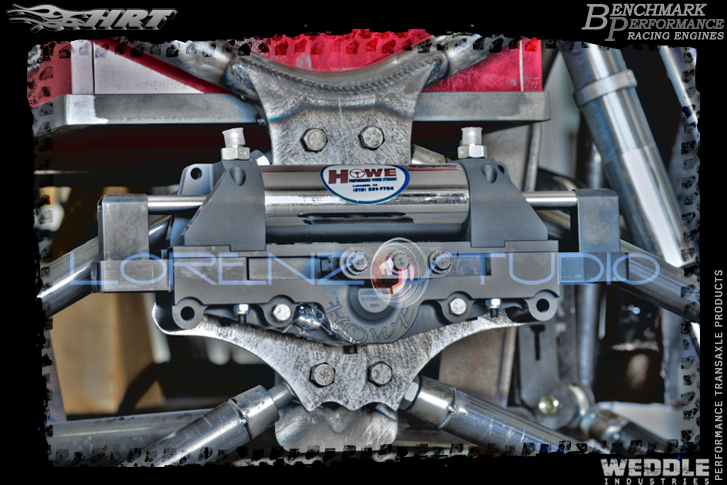
2.5 Howe Rack standard width.
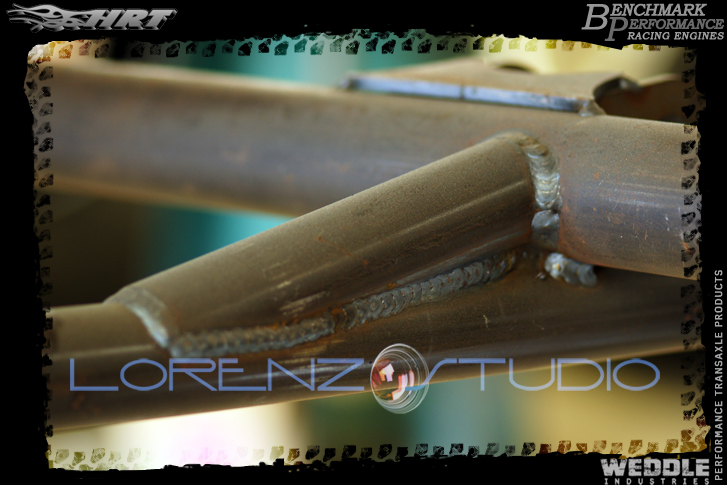
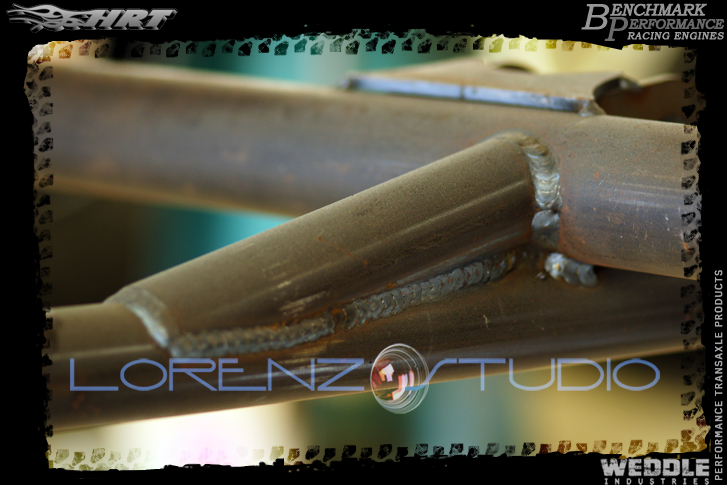
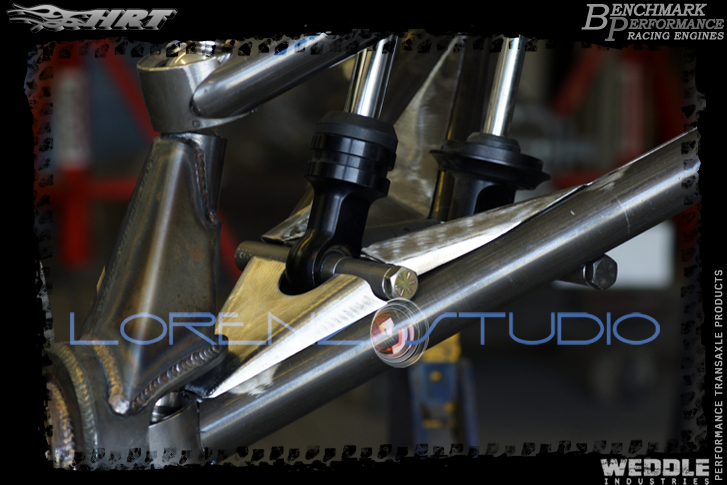
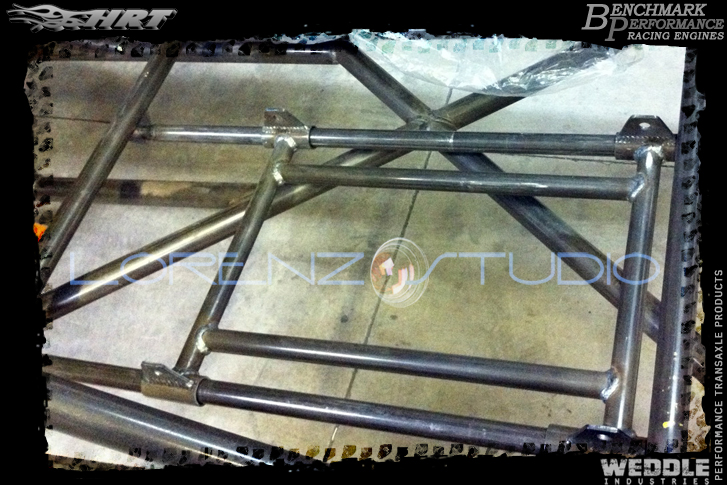
The passenger side a-arms were finished Saturday. I’m digging the bracing on the lower arms. It’s a little different and one off.
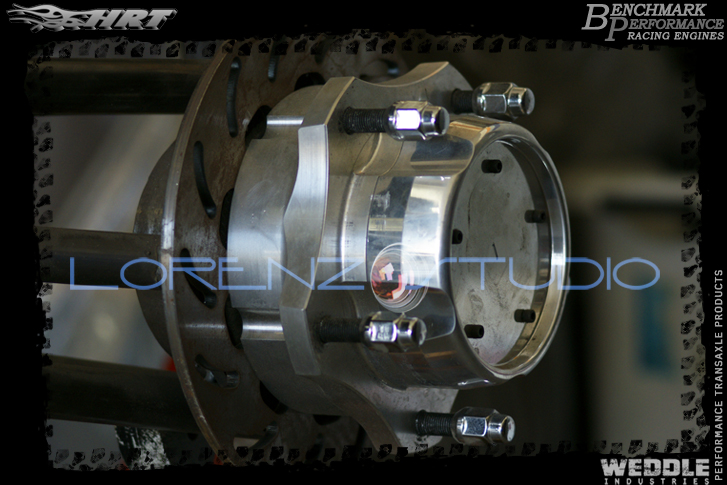
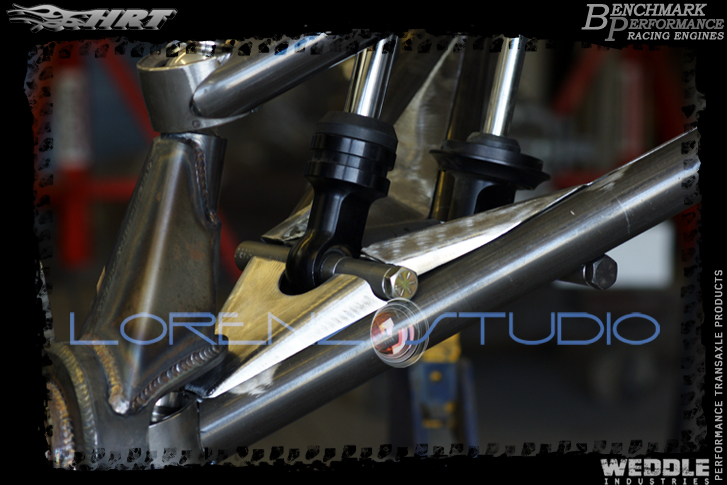
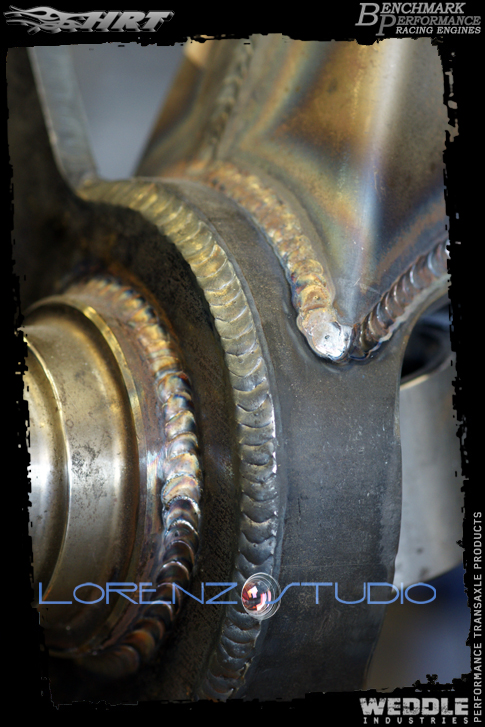
I’m digging the plate work on the bottom a-arm. The spindles are the do it yourself, Proam weld together “Econo” models. The rear hubs are Proam’s Dual Sport Microstubs.
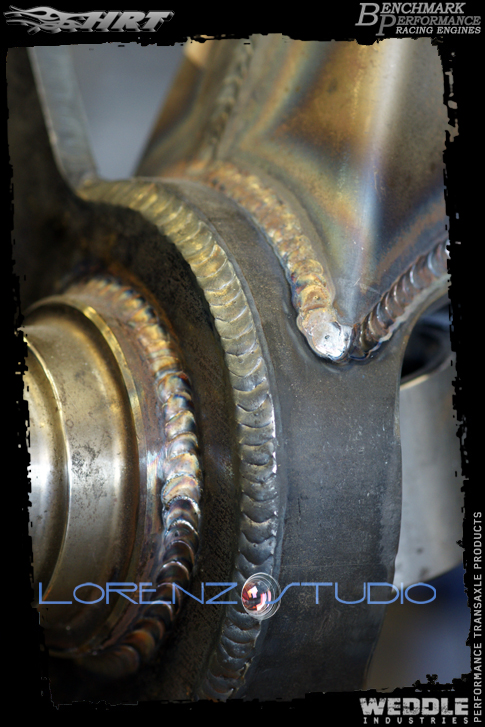
I’m digging the plate work on the bottom a-arm. The spindles are the do it yourself, Proam weld together “Econo” models. The rear hubs are Proam’s Dual Sport Microstubs.
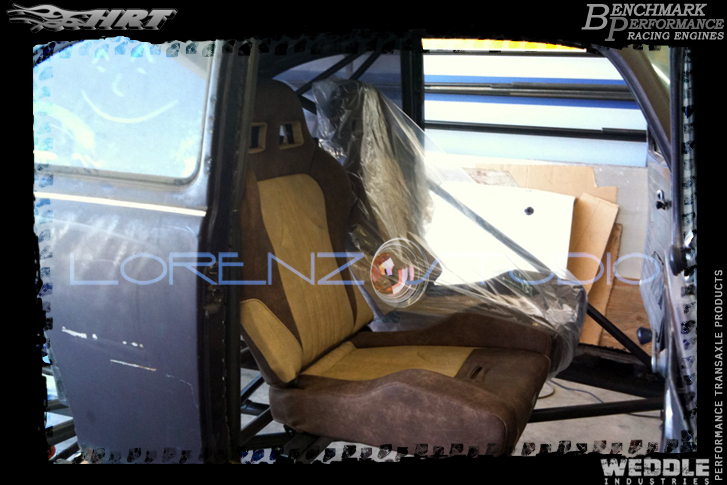
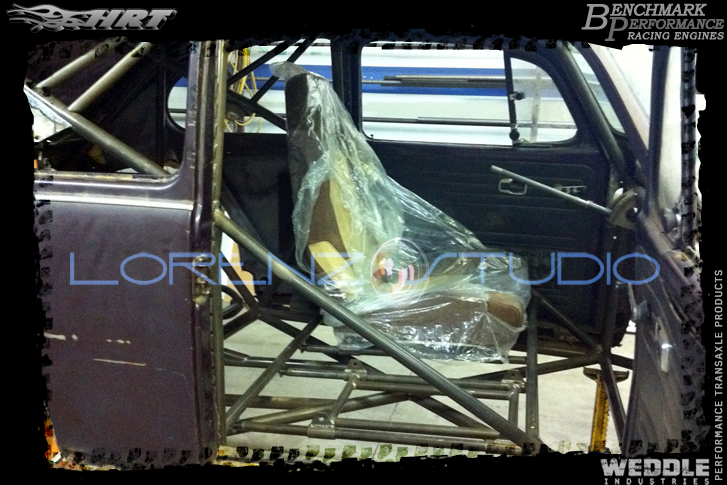
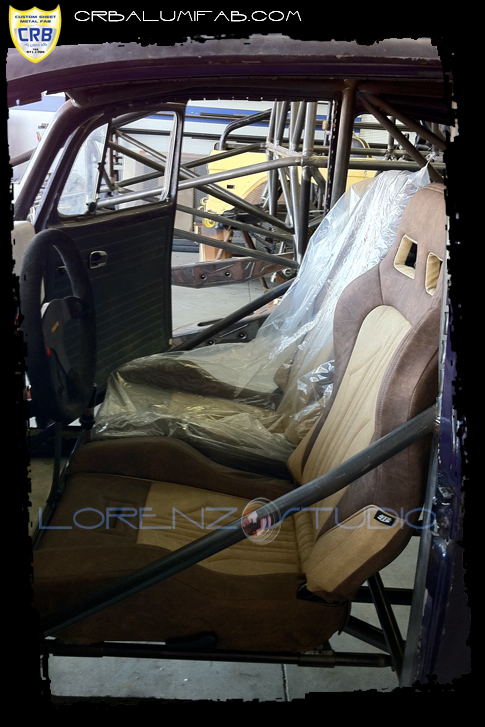
Seat sliders are mounted, front seats are mocked up, the rear bench seat is almost mocked up. The front suspension is all tig’d up: uprights, upper/lower arms and spindles. Fuel cell was remounted slightly in order to make way for a couple more inches of leg room. There may be a trick brake pedal assembly needed in order to clear the steering linkage.
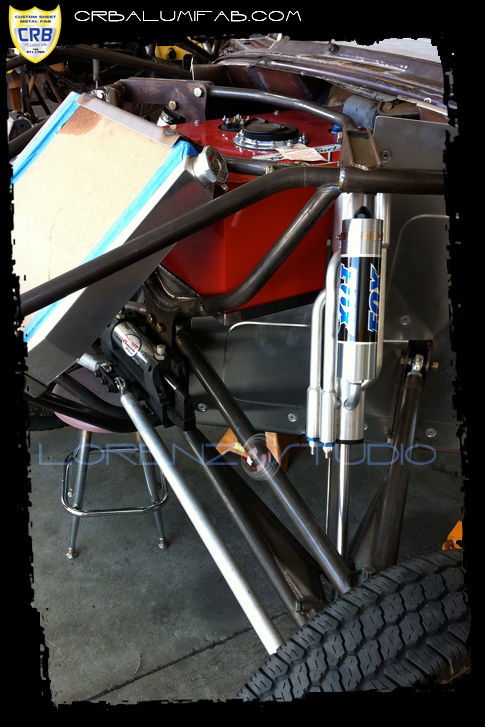
Radiator is moved to the front to keep from turning the intake around.
Turning the intake around to face out the back created a snow ball. A new HOWE Powersteering pump would be needed and relocated to the bottom left of the engine. The exhaust would have to be re routed under the oil pan to clear the pump, and a new rear cage would have to be re-fabed to clear the exhaust. Frankly, it was fiscally responsible to leave the intake were it was in the cab, and re-plumb from there.
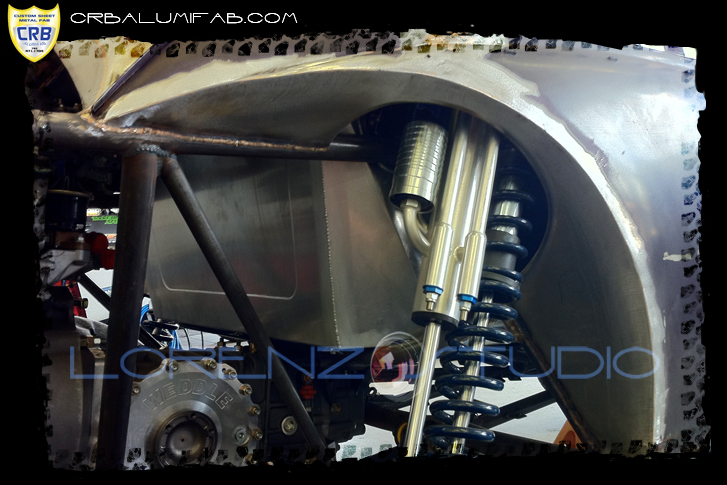
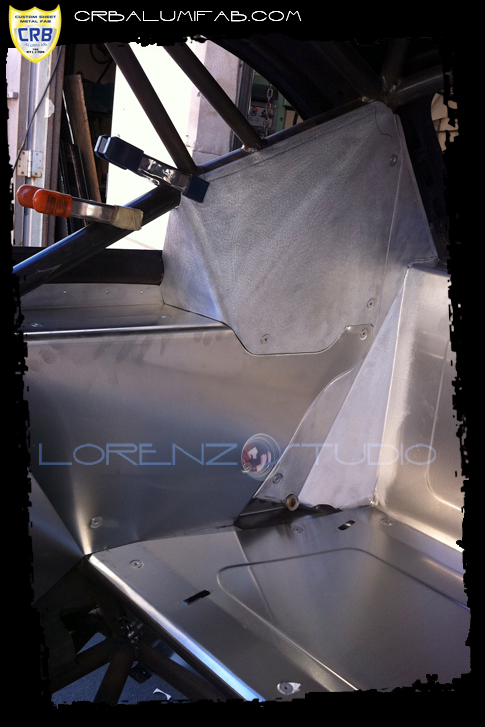
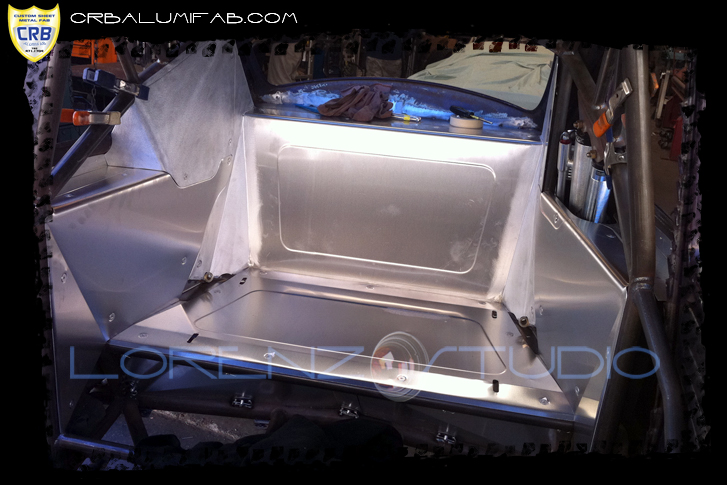
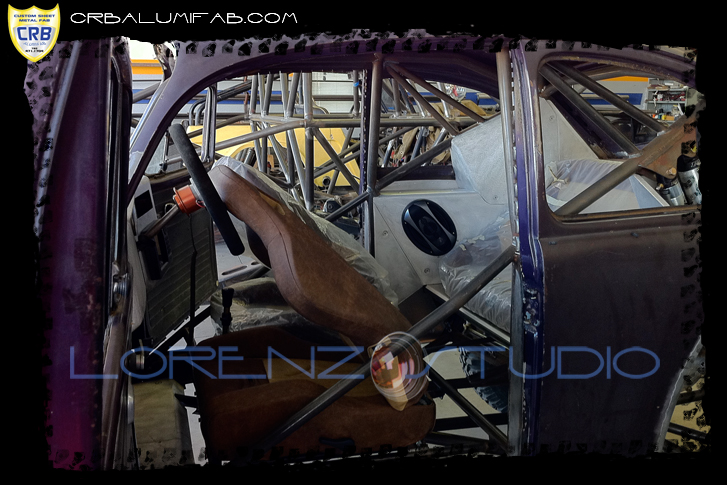
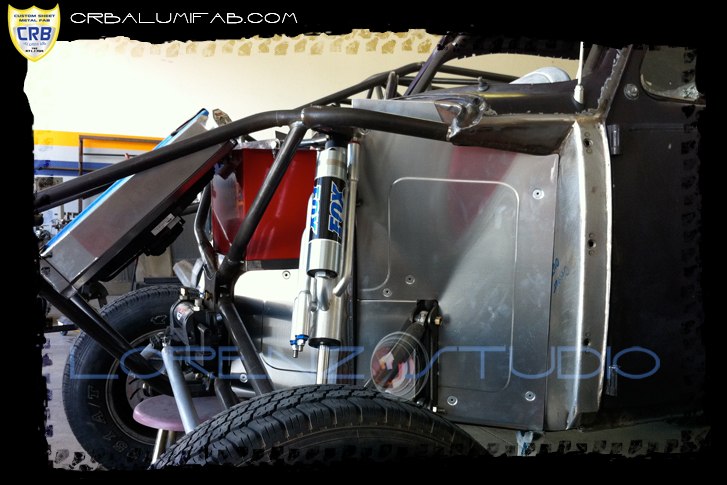
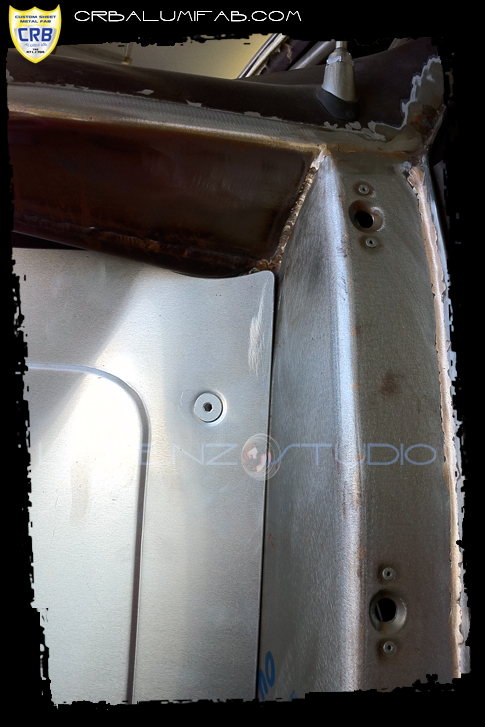
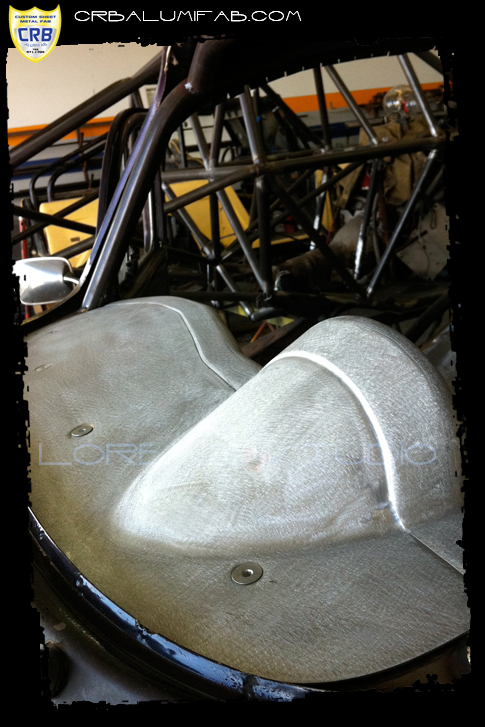
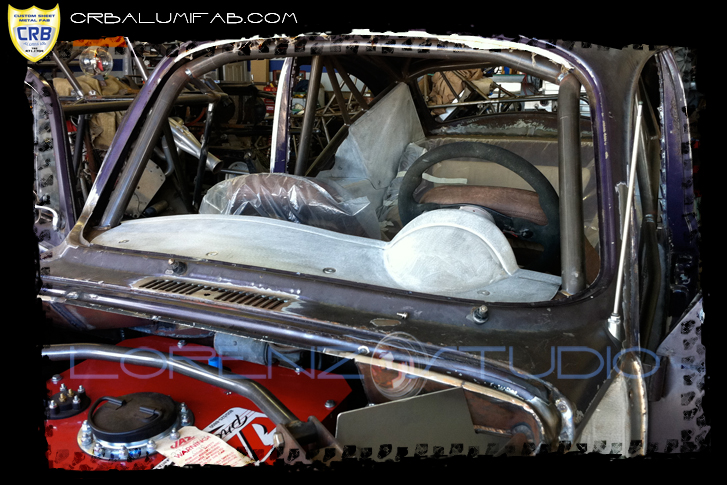
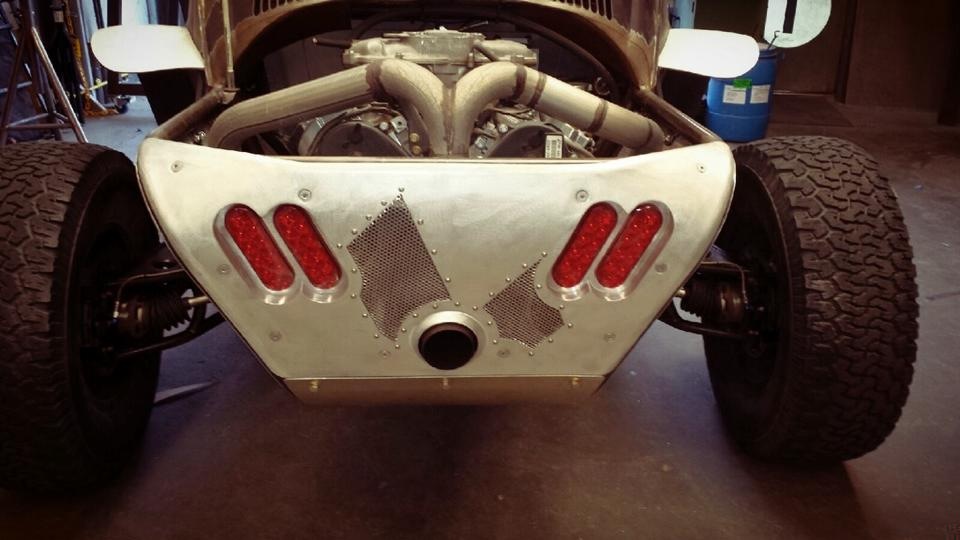
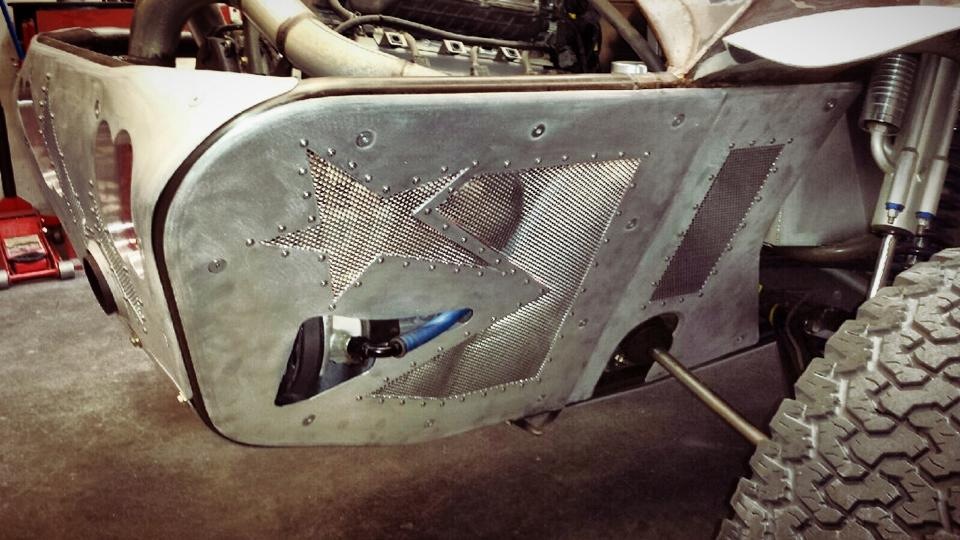
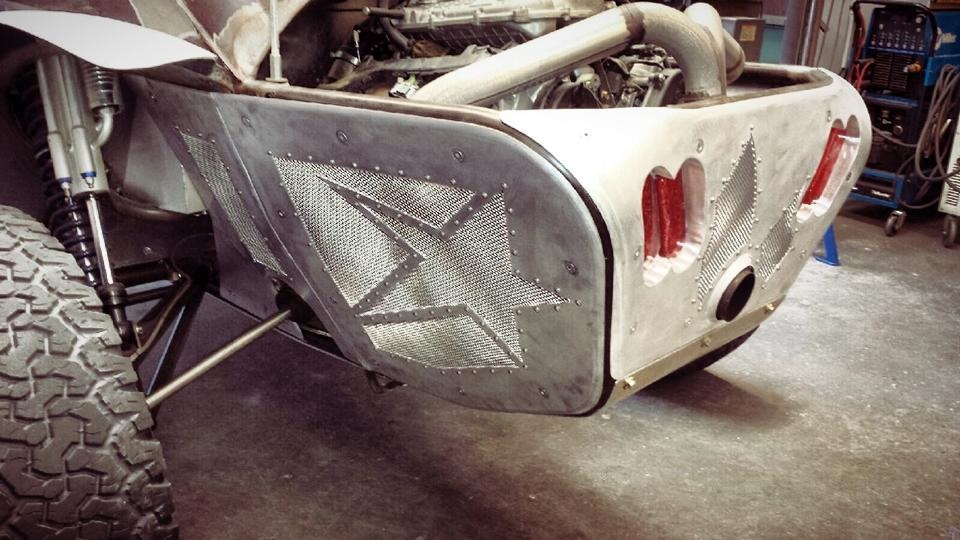
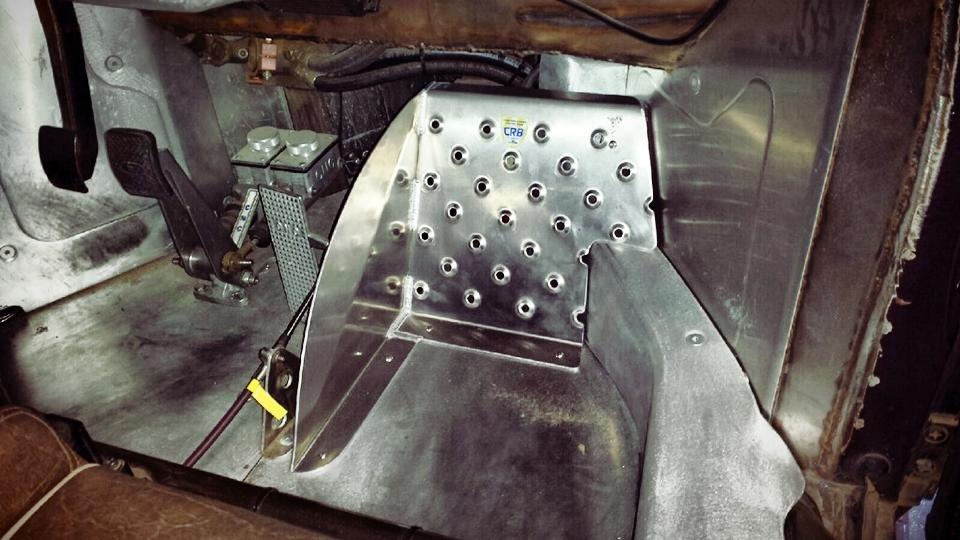
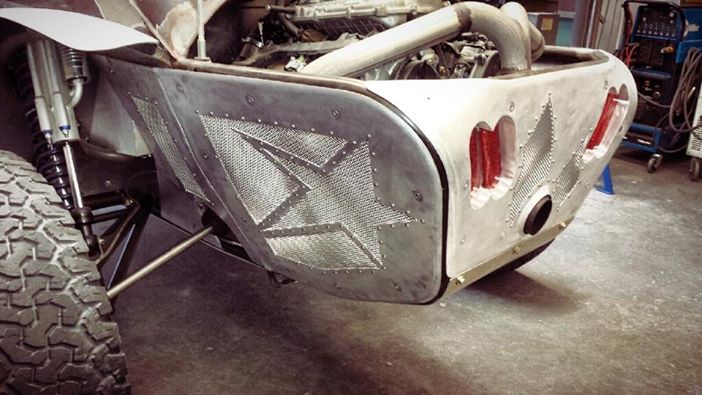
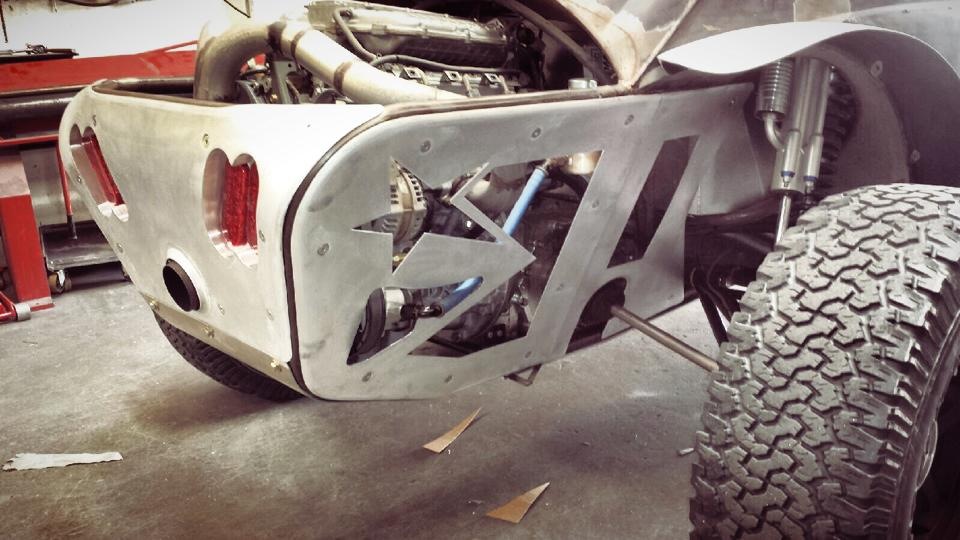
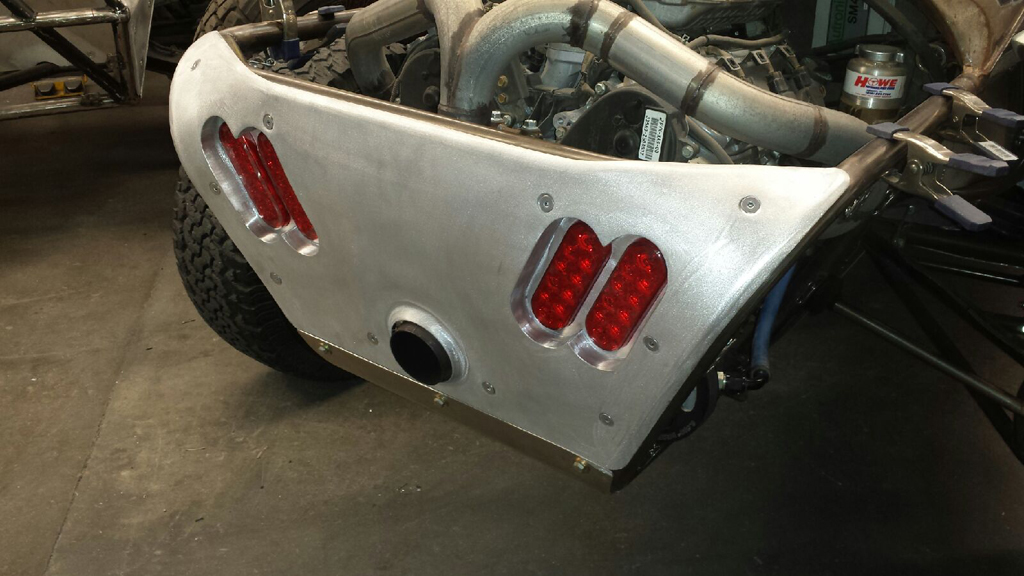
The Aluminum and Tin work is 75% complete. Thank you Curt at CRBalumiFab.com in San Diego, I’m very impressed with your attention to detail. Here’s an iPhone photo update.
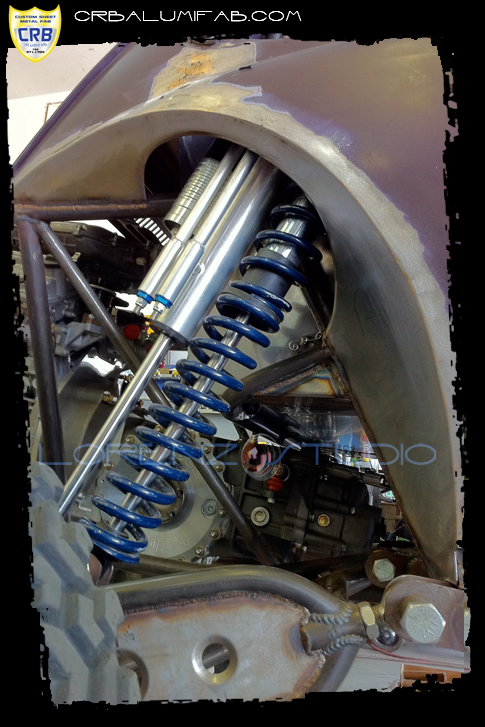
The Shock Coils and Bypass’ were covered from the inside so the little ones won’t pinch a finger off, and nobody can scald themselves on a hot bypass while they’re riding in the back seat. You can see the shocks through the window though, and they get some air from the space that was left between the window and the cage. I can get a wrench back there too for tuning.
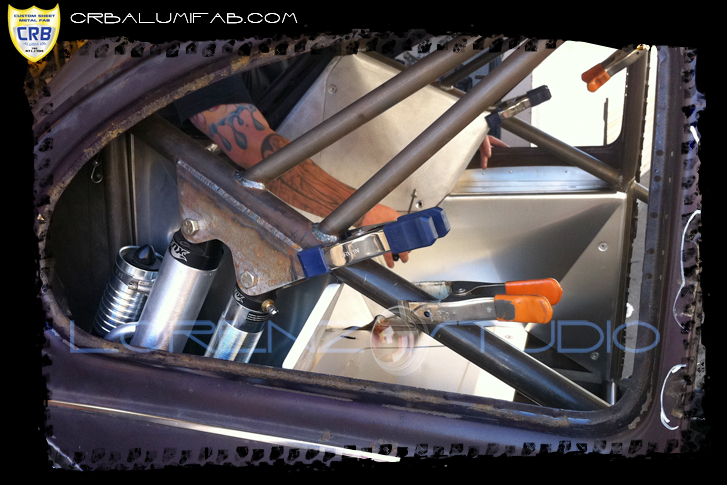
iPhone update:
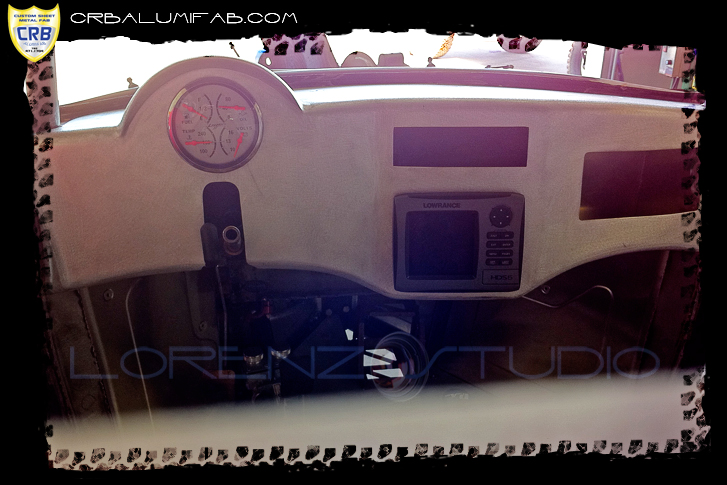
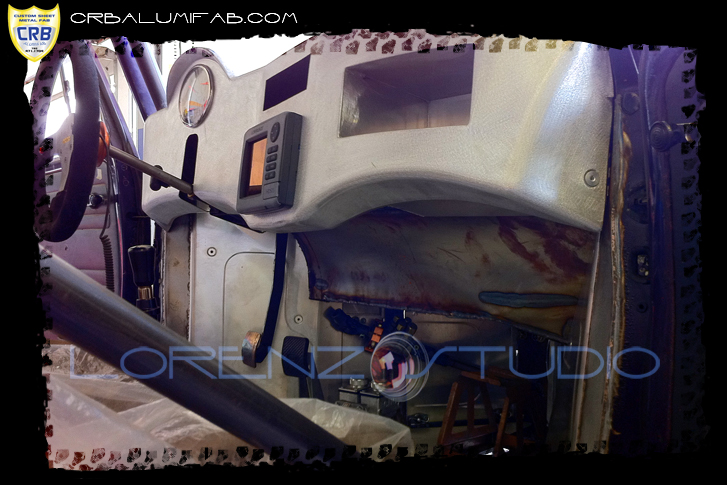
Dash is complete, with a trick eyebrow for the single gauge. I’ll be integrating eyebrow with the graphics scheme and racing strip. I plan on having a 3-5″ racing stripe from front to rear, off center, that will catch the dash right at the gauge’s eyebrow and through the center of the steering wheel. Lorwarance hds5, Sony Marine Radio, Levorsky 4 in 1 gauge, and a glove box on the passenger side. I have a Vintage Levorsky Tach to match the 4 in 1 gauge, but I’m not sure were it’s going to go at this point. Should I run the tach centered over the steering wheel, and 4 in 1 gauge off to the side, or the other way around? Curt threw a nice curve into the dash so the driver has a better view of the GPS, radio, and the Gauges. Everything is angled in slightly towards the driver, for a airplane / cockpit feel.
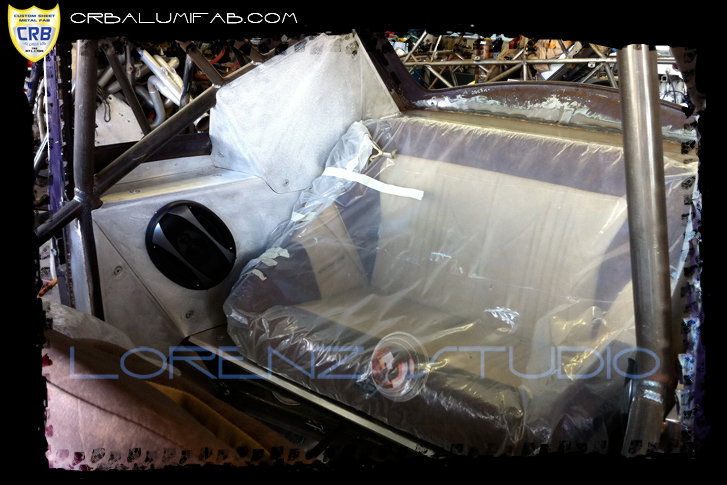
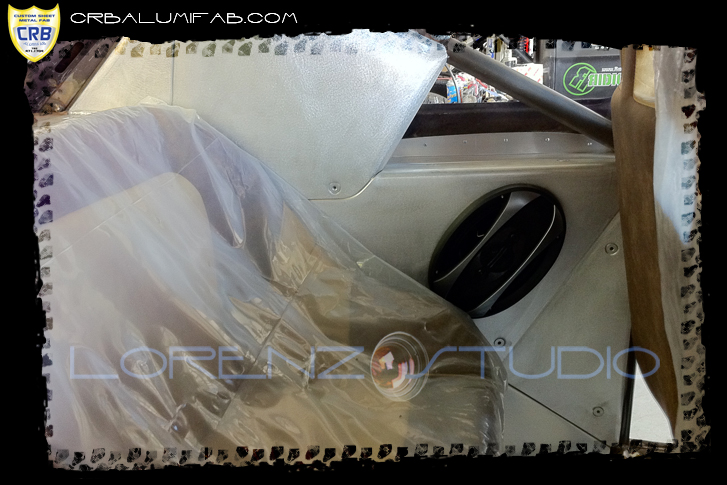
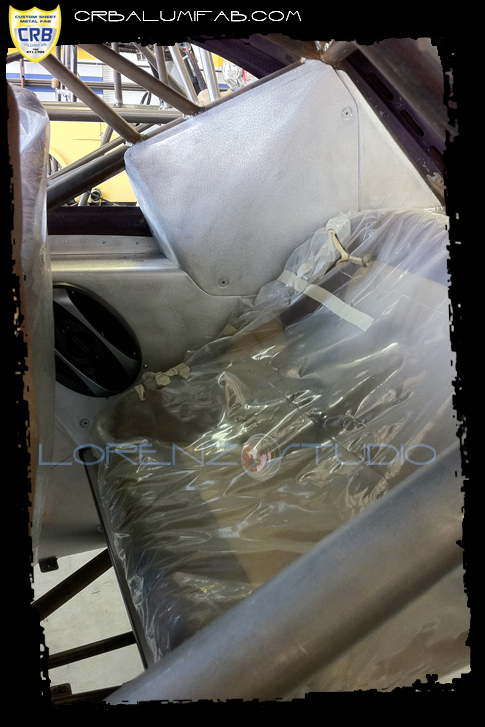
6×9 Speakers were inlayed, just in front of the rear bench seat. I’m going to run them in a simple 2channel config off the Sony deck, nothing too fancy.
Radiator is now mounted and in. The front bars were moved around a little to accommodate it.
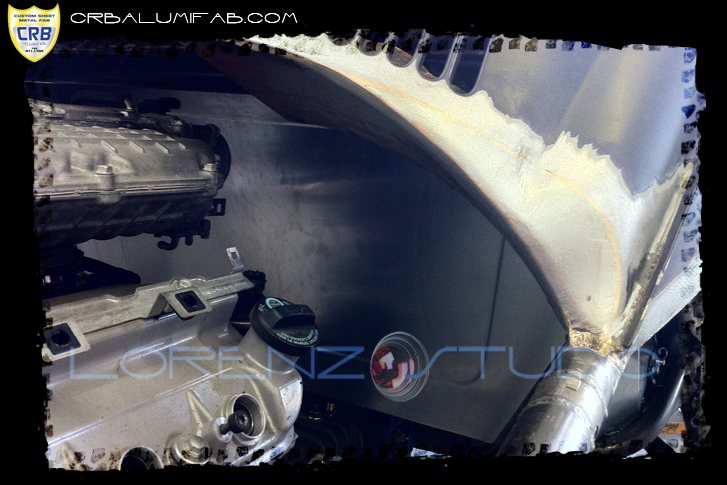
The Beetle Body has been integrated into the cage. Curt at AlumiFab did a fantastic job of keeping the Super Beetle lines, and swooping the rear quarter panel into the back half of the cage. The speakers have an enclosed box that sits between the outside of the cab and the inside of the cab. I was going to go the standard wood box enclosure route, but Curt insisted on doing a better job, and making the speaker boxes water proof.
The Doors are aligned now, and close perfectly now with a simple little “click”. The front clip of the bug has a double walled aluminum firewall. 1 wall on the outside to knock down the debris and water, and another wall inside to keep the environment sealed out, and the cab looking clean without the jungle gym look of tubing around your feet.
Body dings and cancer were cut out, patched with steel, and brazed in old school style. Very little bondo will have to be used for the final prep and epoxy coat. Amazing craftsmanship, I’m super pleased.
