 |
 |
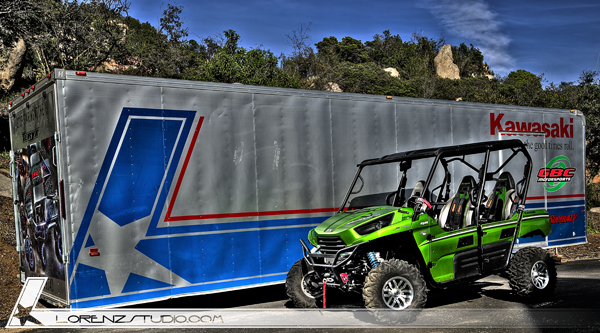
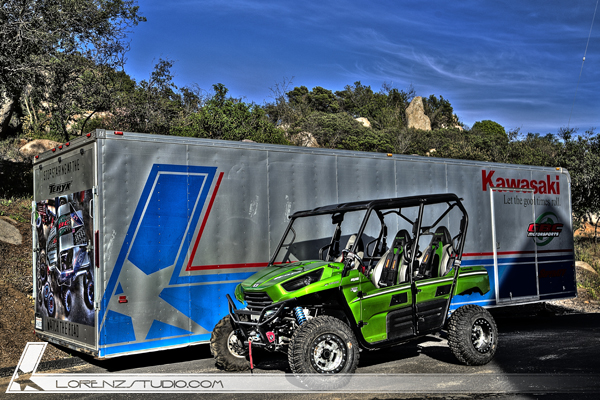
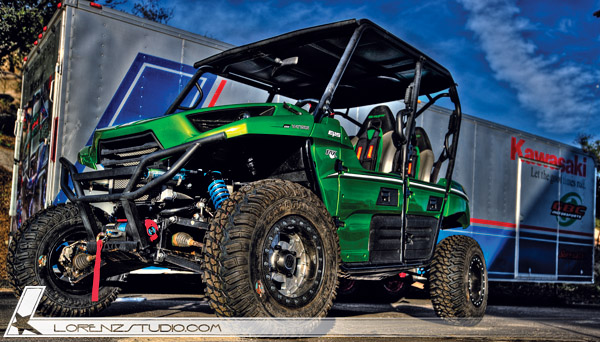
Our New LORENZstudioDesign T4 arrived, let the transformation begin….
We got our new T4 the day after Christmas. I took delivery of it at Fun Bike Center in San Diego. They have a good team over there that I would recommend, I tend to dislike big dealers, but FBC was a bit different.
We promptly loaded the freshly minted piece into the trailer and headed to Glamis for an easy easy break in. I’m pretty anal about treating my toys right out of the gate and the using the heck out out of them for the duration of their lives. Some things are better left for the race car on the track, but this T4 will do its fair share of chores around the ranch and safely totting the family around the dune and through the Rubicon.
I put a whopping 1.8 hours on her at
We were able to crawl up olds at less than 15mph aired down, fully loaded with the family, locked out front and rear while only using half throttle. I was kind of surprised at the way she crawled out. Another first…
I was a bit surprised at how much more room the T4 had than the our 1973 Baja Bug. The video shows the perspective.
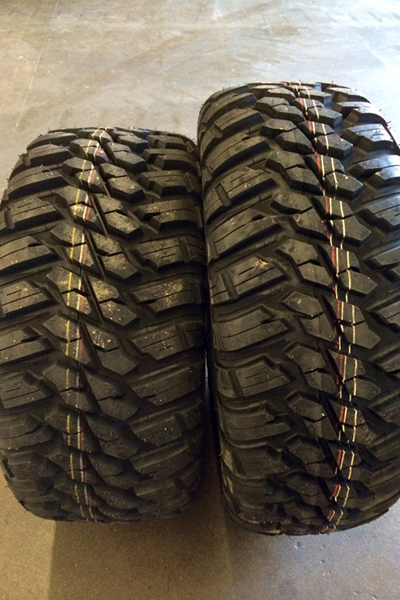
GBC Mongrel’s are going on the beast in a week or so. Waiting on HiPer Wheels and a fancy tire groove from Fullerton SandSports. Here’s a look at 28″ compared to 30’s. I’ll be running the 28’s on the Race Teryx, and the 30’s on the T4.
I also installed SuperATV’s power steering on the Race Car. I don’t know why I waited so long? It transformed the car for $600 or so dollars.
https://www.superatv.com/Kawasaki-Ter…1086C1036.aspx

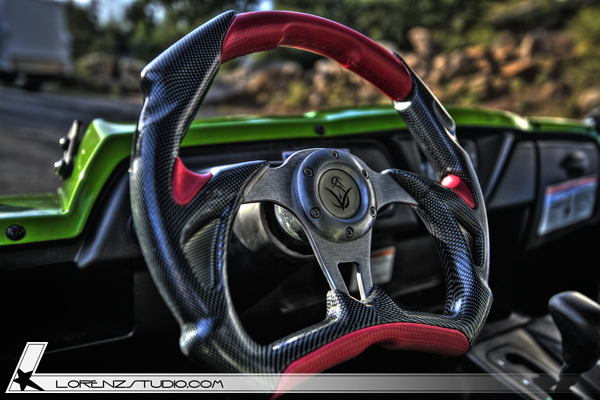
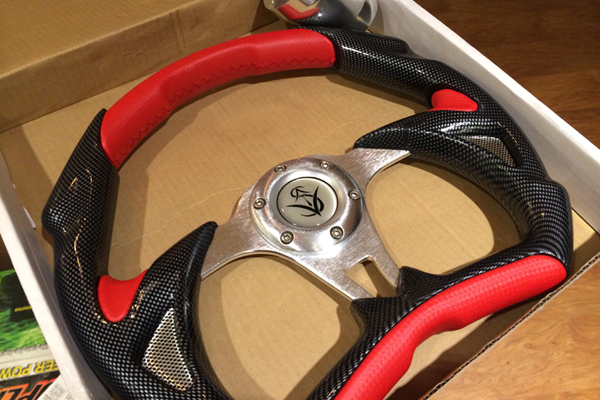
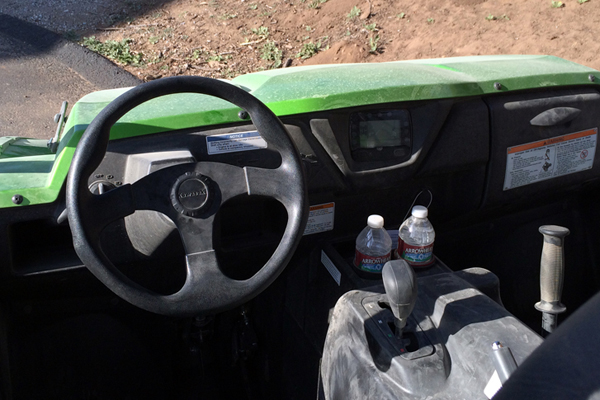
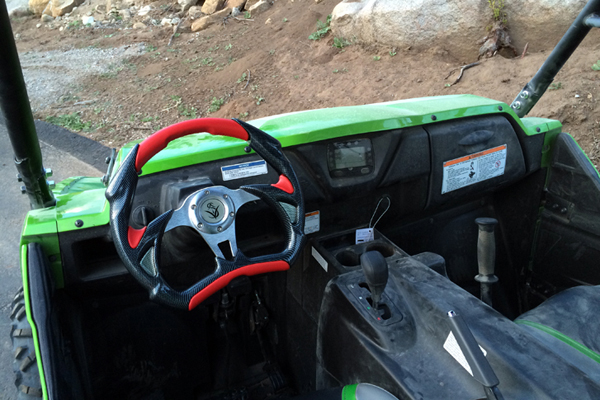
SuperATV Steering Wheel went in.
https://www.superatv.com/UTV-Steering…-P909C401.aspx
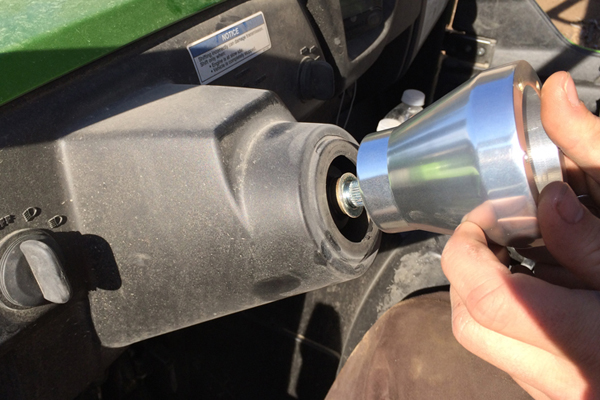
It was pretty straight forward with a small amounts of stock plastic to remove. I used a rotozip with a bit that had a bearing attached to it. It made the job pretty dummy proof, meaning I couldnt take off too much even if the roto zip got away from me. The Billet Aluminum mount is a work of art and brought the wheel closer to the driver by about 1.5″.
I like the new feel and instant center I get when the steer tires come back to center at speed, it’s like my Race Car in that way. I think all of my vehicles will have non-round wheels from here on out because I like that intuitive centered feel it gives. Its a solid unit as well, I didnt realize how much the OEM Kawi wheel flexed until I had this SuperATV unit mounted up.
https://www.superatv.com/UTV-Steering…-P909C401.aspx
I was able to trade my 2014 almost new Factory Green Kawi arms and Fox Shox to a forum member for his Long Travel Kit and some cash. The transaction went smoother than expected. I’ve since run the car at KOH to snap a few images for LORENZstudio with some of the boy at UTV Underground, and ive taken her to Glamis with the TeryxForum Goons over Presidents Day. Im happy with the results, but think the car could run the whoops better with some tweeking and elbow greese. Im impressed non-the-less. This car is one of my favorite vehicle to drive. (This from a guy with too many toys)


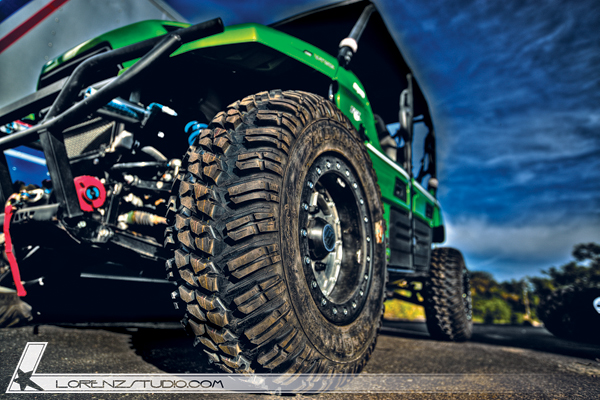
What a difference a set of tires and wheels makes. 28″ GBC Mongrels on 14″ carbon fiber HiPer Wheels from Fullerton Sand Sports. Dave set me up with his racing groove front and rear. It’s a heavy steer groove up front and he opened up the rear sipes with 1/4″ grooves. The Billet Aliminum Centers are his own design as well. The guy knows his stuff and he ships complete wheel and tire assemblies in 1 box.
Fullerton Sand Sports – Distributor of Performance Tires & Wheels
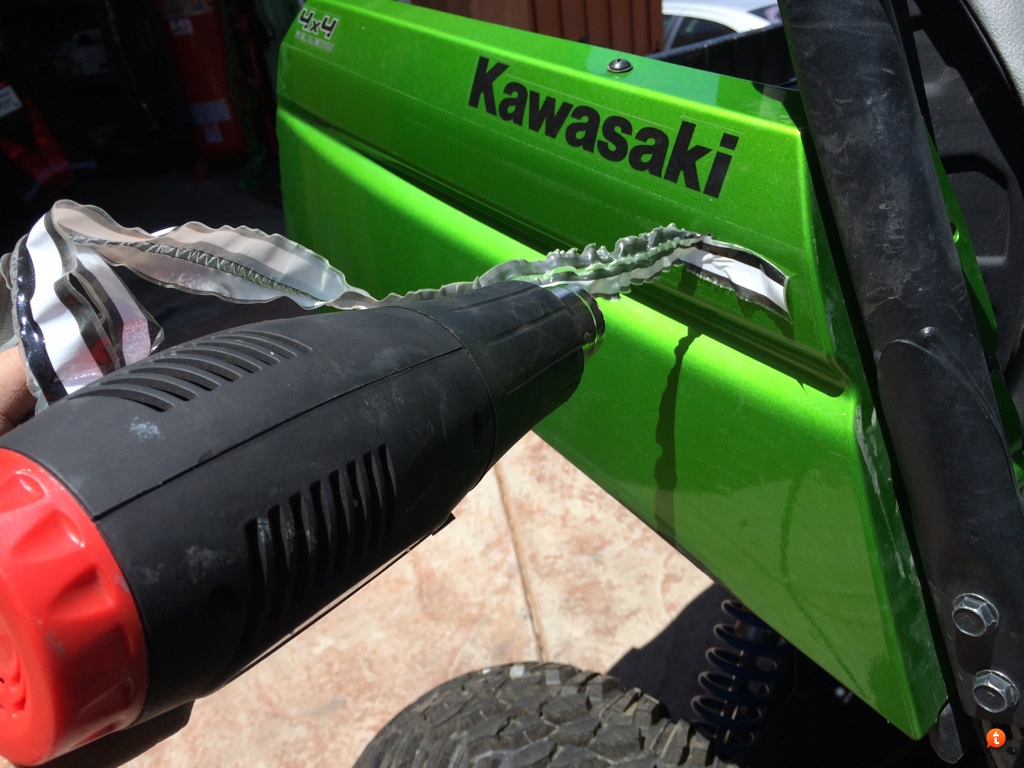
Graphics came of with ease. A heat gun on low and some elbow grease. There’s a slight trick to getting the right amount of heat onto the sticker as your peeling to get the glue to let go, but not so much to melt the sticker. “Low” worked on the heat gun, “high” fried the sticker and stretched it as I pulled till it broke in two. I think mommas hair drier may have been the ticket if I was smart enough to steal it from the bathroom?
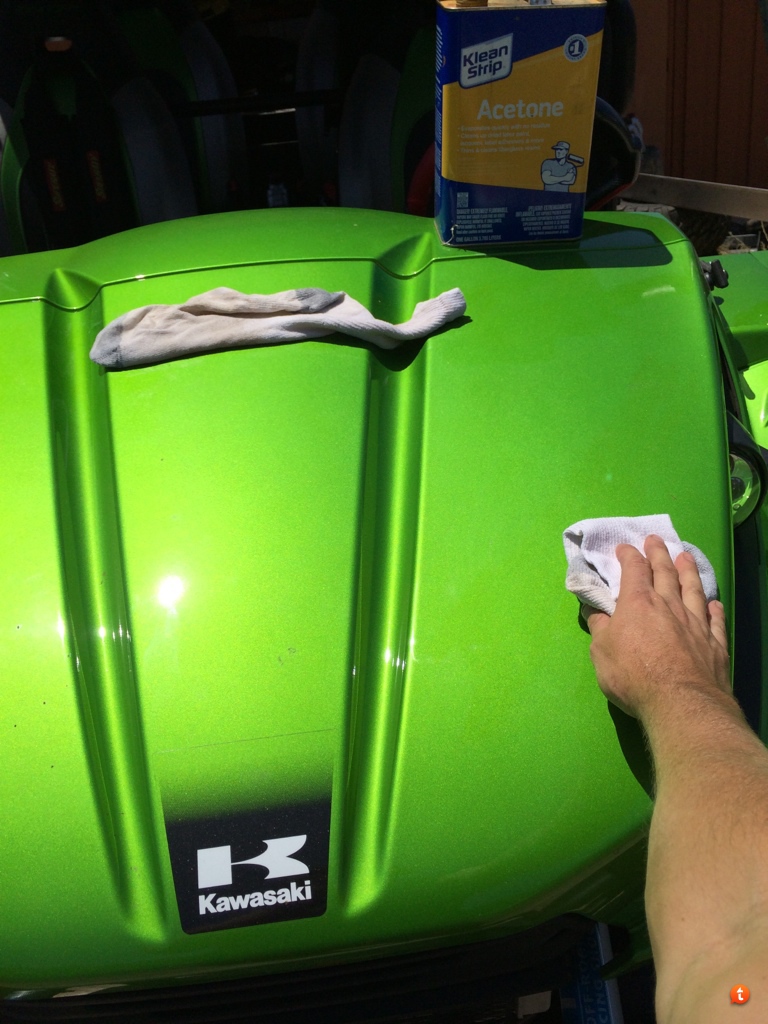
A couple clean rags with some acetone and the remaining glue wiped off. I used a new rag for every panel otherwise I was smearing the glue around as it came off the car onto the rag, then back onto the car in little balls… Amateur hour.
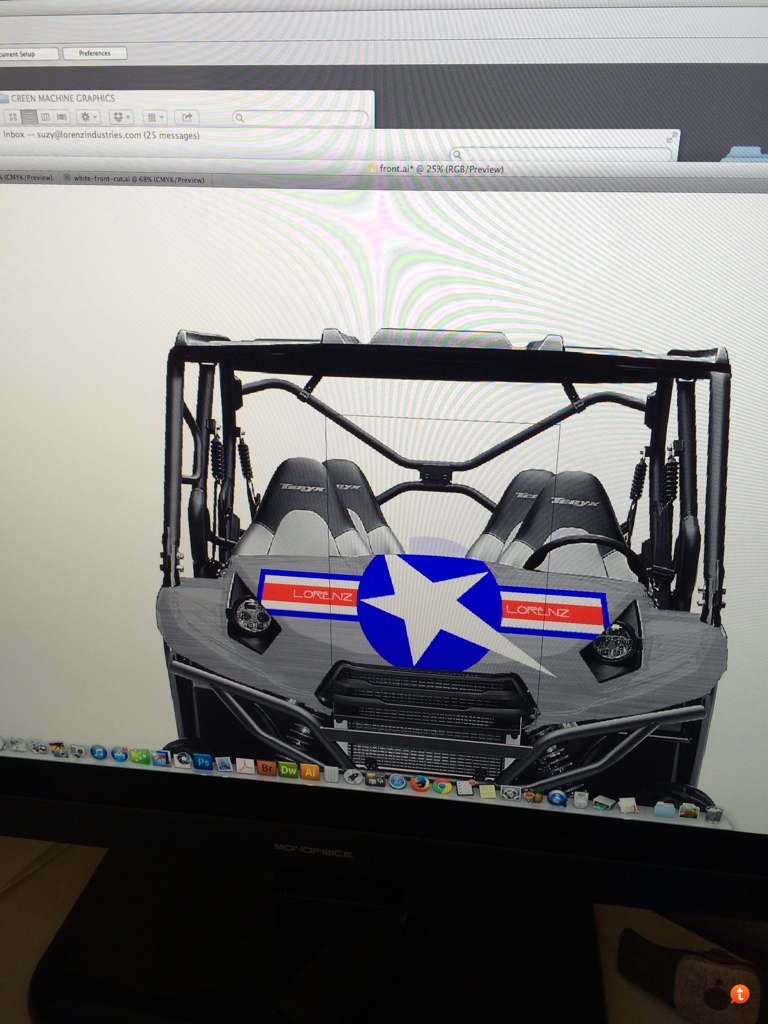
The Fetching Mrs Lorenz is killing it on the Roland Plotter inside, as I prepare the canvas outside.
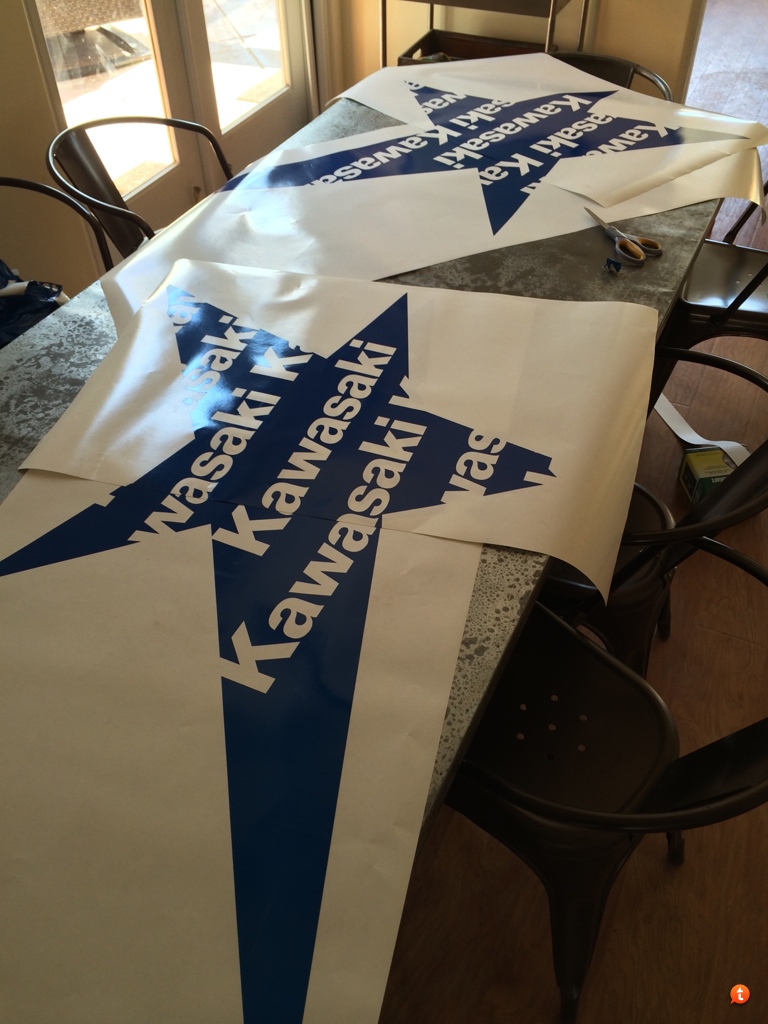
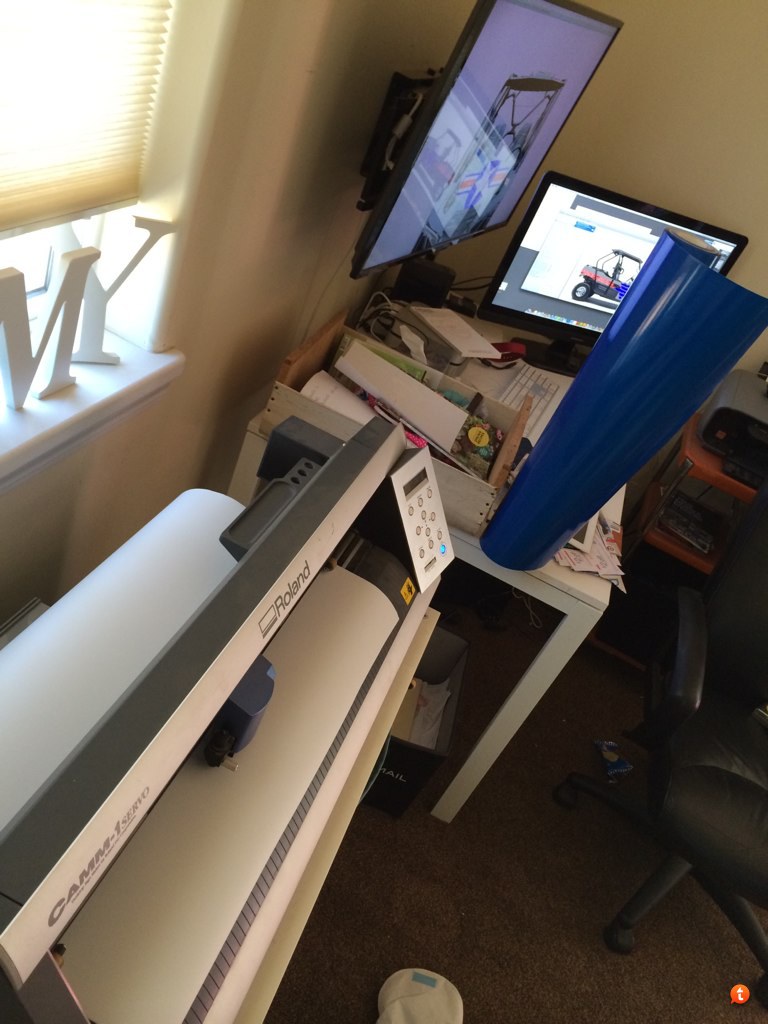
90% done. Photo Shoot at Moab in 3…2…
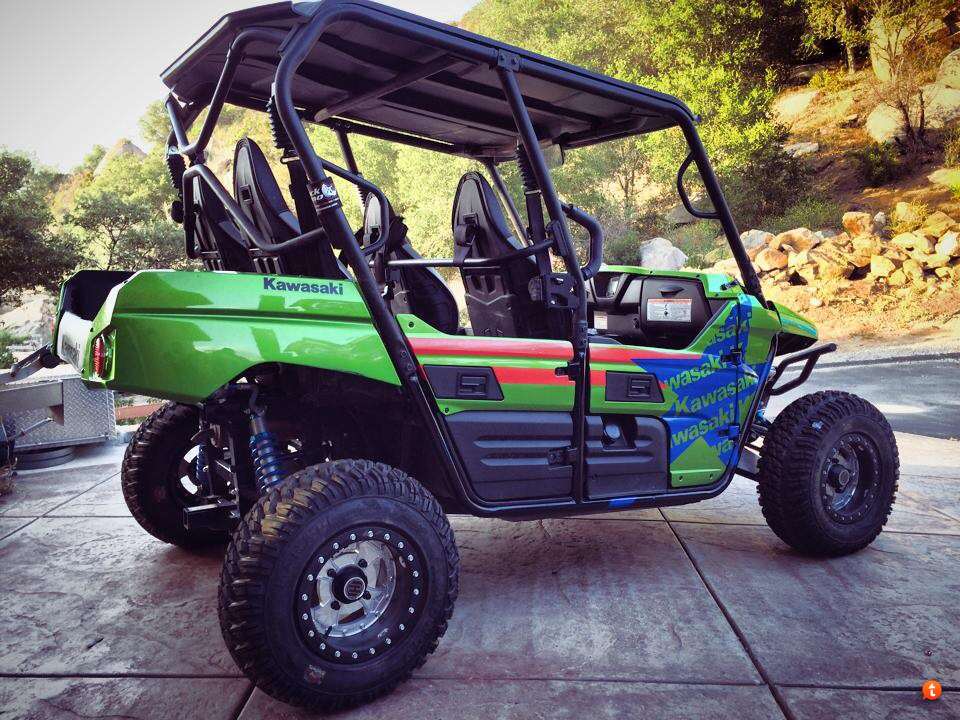
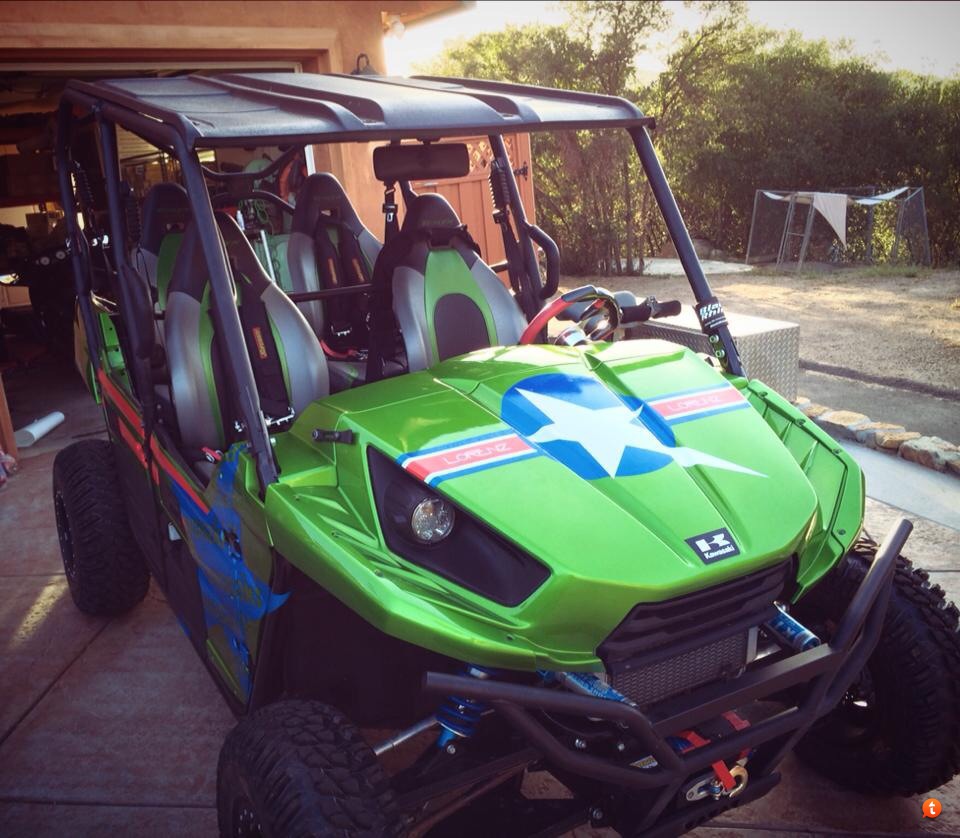

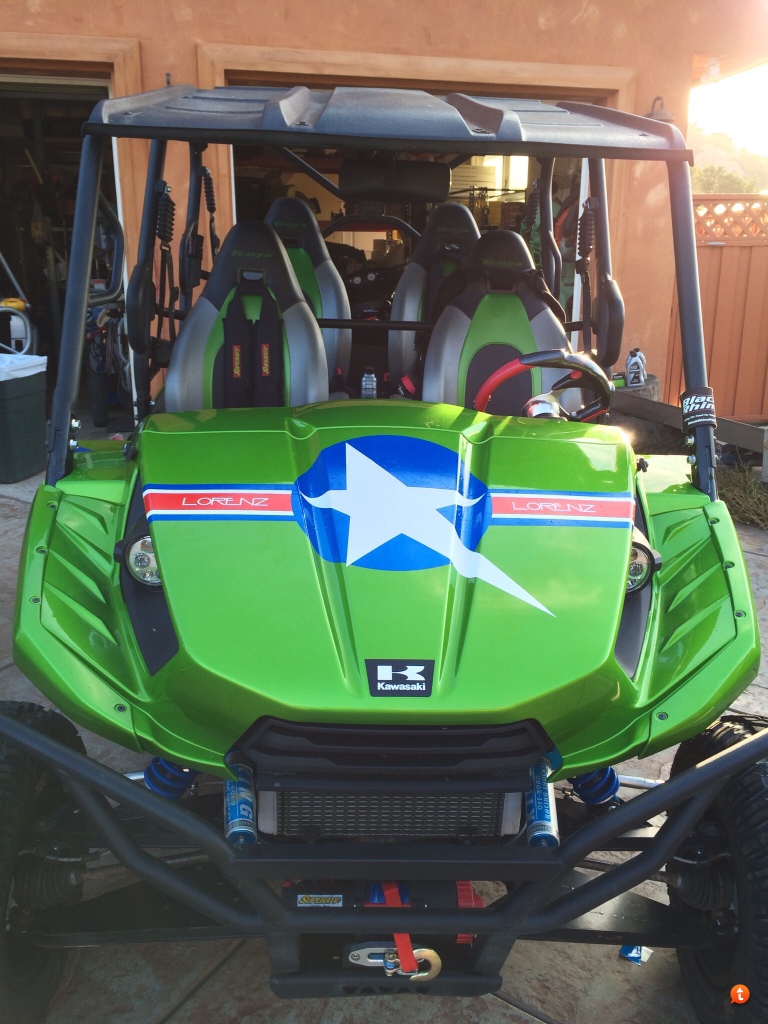
The 24 hour round trip drive to Moab Utah from San Diego was worth it if it was just for this 1st day. A week of trails are ahead!
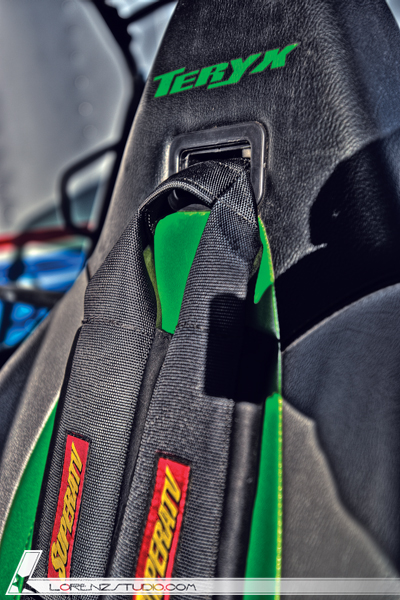
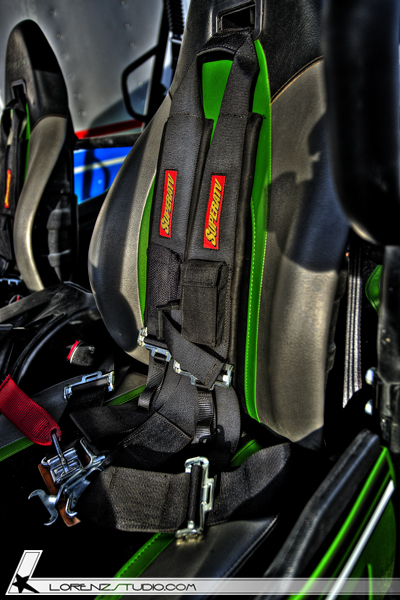
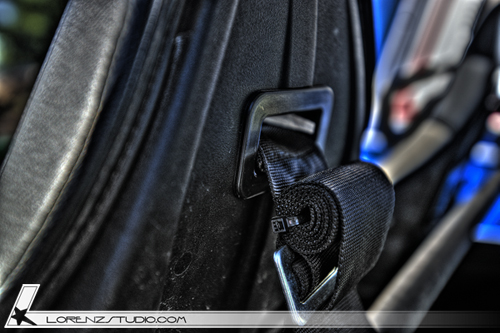
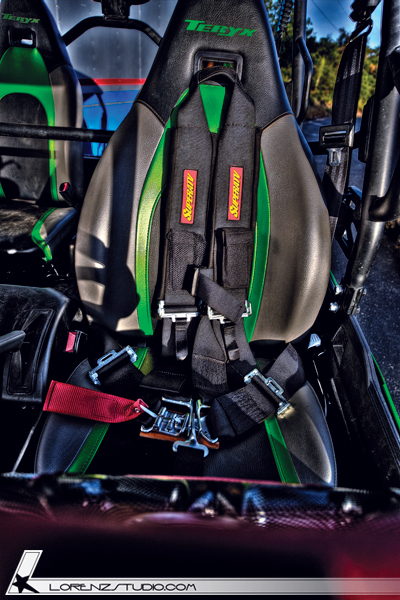
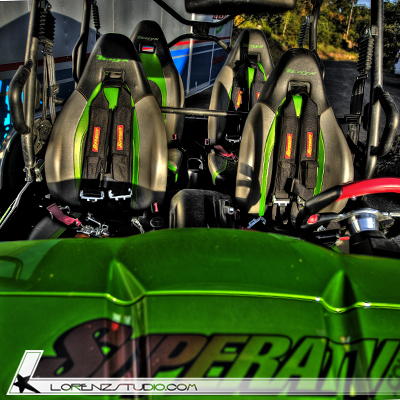
Got to ride Moab with the legend Larry Rossler and his family, along with Curry and the Big Cheese behind Kawasaki’s last 4 seasons of Super Cross Championships. To say today was epic is an understatement. I’m smiling as I type reliving the day of burning up the rocks.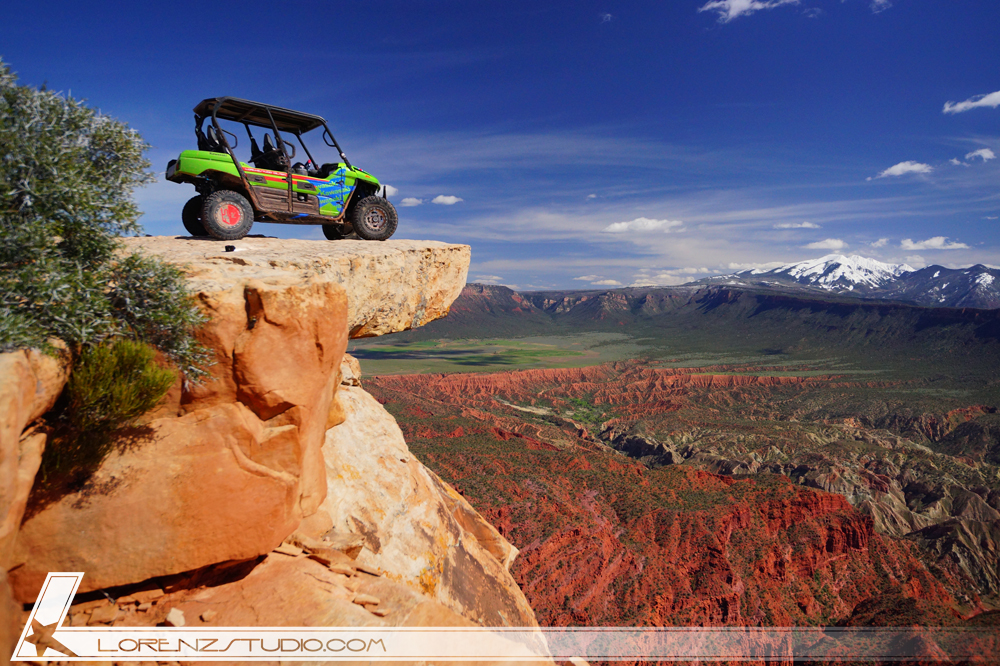 The seat grommets came from BenchMark Performance. Easy install, and worth their weight in gold. The goal was to do as little as possible to the car while keeping the safety features of a real 5 point racing harness. I didn’t want to start changing out seats and seat mounts if I didnt have to. The Kawi seats are comfy and have build in bolster that work great at keeping passengers from sliding around in the seat. They OEM seats are easy to get in and out of to boot. The seat grommets allowed me to keep the Kawi seats AND add the racing harness’.
The billet steering wheel mount came with the Super ATV wheel.
